Jul
06
2017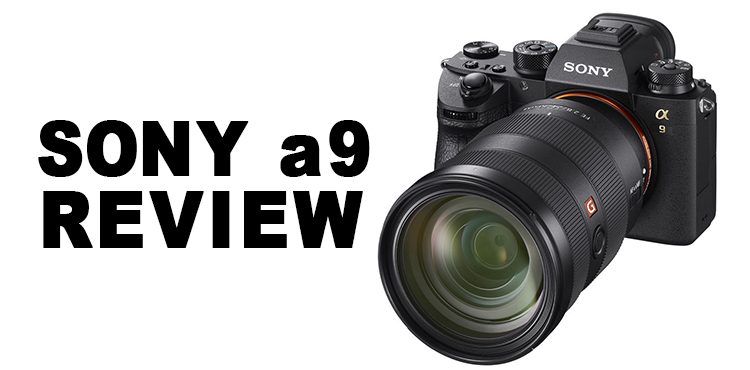
Every once in a while a camera comes along that draws a line in the sand, redefines a segment, and marks a milestone in photography. The first from-the-ground-up dSLR, the Nikon D1, was such a camera. Canon’s consumer-level digital Rebel was such a camera as was Canon’s 5DMKII with its breakthrough video performance. Cameras like this don’t come along everyday, but when they do they mark a fundamental shift and a category maturity for a manufacturer.
Aimed at Sports and wedding photographers, the A9 is positioned to be a camera long-remembered by photographers as a defining moment for Sony and mirrorless cameras. The list of specs is impressive:
- 24 megapixel stacked full frame sensor
- 693 phase detection autofocus points with 93% coverage
- A shooting buffer capable of handling 241 compressed raw files or 362 JPEGs
- 5-axis in body image stabilization
- OLED viewfinder with 120fps refresh
- 4K 24p full frame video
And that’s not all, the A9 has a silent electronic shutter, a highly performant autofocus system capable of 60 autofocus calculations per second, and every Sony fanboy’s favorite spec: 20 frames per second with no viewfinder blackout- making it faster than Canon’s 1Dx and Nikon’s D5.
Yet specs, however impressive they are, don’t make a camera. I’ve had the chance to spend a good amount of time with the A9 and what follows are my impressions of using it day-in and day-out.
Dials and Controls
New Dial & Dial Lock
The first thing you’ll notice about the A9 is the addition of a two stacked dials on the left dedicated to burst mode and focus. This is a nice addition as it saves having to go through the fn options to set the burst and autofocus settings. Both dials have a button lock you have to depress in order to change their settings. The design works well, but I wish there was a more elegant way of locking the dials as I found the press-to-turn process a bit cumbersome. It’s not that the implementation doesn’t work, it’s that it’s difficult to unlock and change settings without taking your eye off the viewfinder. This is especially true of the AF selector which has a tiny push-button unlock mechanism.

Top view of the Sony A9 showing the newly added left dials for Autofocus and Burst mode.
AF ON and AEL Buttons
If there is one button I was happy to see it would be: AF ON. Sure you can customize buttons on the A7 cameras to use rear AF, but you shouldn’t have to do that as it takes away from the camera’s customizability.
I personally have no use for the AEL button as I photograph everything on manual, but it is a good addition nonetheless and signals a new focus (no pun intended) on ergonomics from Sony.
While I liked the AF and AEL buttons, I did think they could have been more pronounced. I felt they were a bit too small, and inset, and not as easy to depress or tactilely locate while looking through the viewfinder as they could be. I also felt the AF ON button was a bit too close in proximity and tactile feel to the video recording button (I recorded a couple of nice videos when I thought I was focusing. I also sadly managed to end a video I was recording when I thought I was focusing) I hope Sony moves the recording button in future iterations and makes the AF button tactilely distinct.
Focus Joystick
The A9 has a joystick dedicated to setting the focus point. This is a fantastic addition! The joystick is exactly where it needs to be and its feel is perfect. The combination of AF ON and the focus joystick make for a much more streamlined shooting experience as you don’t have to move your fingers to all corners of the camera to set and achieve focus. It’s awesome not to have to hit the center dial button to move the autofocus point about as you do with the A7 line.
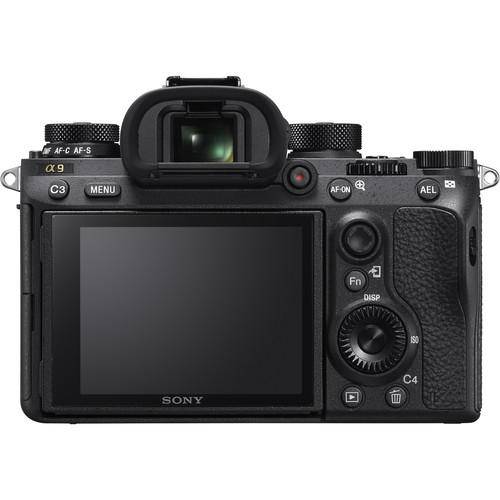
Back view of the Sony A9 showing the newly added AF-ON and AEL buttons and the focus point joystick
Usability
The Silent Shutter
The first configuration change I made with the A9 was disabling the AF beep as I hate hate hate having to hear a sound everytime the camera achieves focus. Easy enough: go into the camera settings and turn off notifications. With the “beep” disabled, I went to shoot, focused, depressed the shutter and….nothing. The viewfinder didn’t blackout and I didn’t hear the shutter fire. I had to stop and check to see if the camera actually took a photo. That moment was a revelation! You mean I never ever have to stop looking at my subject and, if I want it, I never have to hear a shutter? That’s just plain awesome. By the way, there’s a visual cue in the viewfinder indicating a frame was captured. It’s easy to miss the first time you use the camera, but you quickly know to look for it. Incidentally, you can enable a shutter audio sound if you want.
Menus
Sony’s menus have historically been a sore point for anyone switching from Canon or Nikon. Sony cameras offer a lot of configurability, but their menus to date been anything but intuitive. The A9’s menu remedies this by including a custom “My Menu” allowing you to add settings or functions you typically utilize. This means you no longer have to hunt for the “format” menu item to clear your cards.
The Battery and Grip
I own no fewer than 5 batteries for my A7II and I always make sure they are charged before serious outings. The batteries are small and I have to be cognizant of how much charge I have left. For example, I always make sure I have a fresh battery to go just before sunset or sunrise shoots as the last thing I want is to miss a shot because I have to fiddle with the battery.
Fortunately, the A9’s battery is a significant step up in size and capacity from the A7 series’ W battery. Also, Sony significantly reduced the A9’s power consumption compared to the A7RII.
The A7RII, for example, has a CIPA rating of 290 shots while the A9 clocks in at 480. This is still significantly shorter than a 5DMKIV‘s impressive 900 images per battery through the viewfinder- though it should be noted that the 5DMKIV’s battery clocks in at 300 images using LiveView while the A9 can yield 650 images per CIPA standards.
One result of the larger battery is a wider grip. I like the slightly larger form factor, but I’m sure there are those who disagree. This is largely a matter of preference. Either way, the A9 remains significantly smaller than its Canon or Nikon counterparts.
Viewfinder, Autofocus & Burst Mode
I don’t care if you shoot sloths or plain ‘ol concrete drying exclusively for your day job, nothing puts a smile on a photographer’s face like burst mode- and 20 frames per second sure does the trick! It’s a blast hitting that shutter button, daring the A9’s buffer, and letting the camera fly.
The A9’s autofocus performance is impressive and the camera is, as Sony promises, stable throughout- what this means is I didn’t get it to lock up on me. Also, having no blackout in the viewfinder is fantastic as I mentioned previously. It’s a nice-to-have when shooting slower action, but it’s a godsend when you’re trying to nail a composition during fast-action sequences.
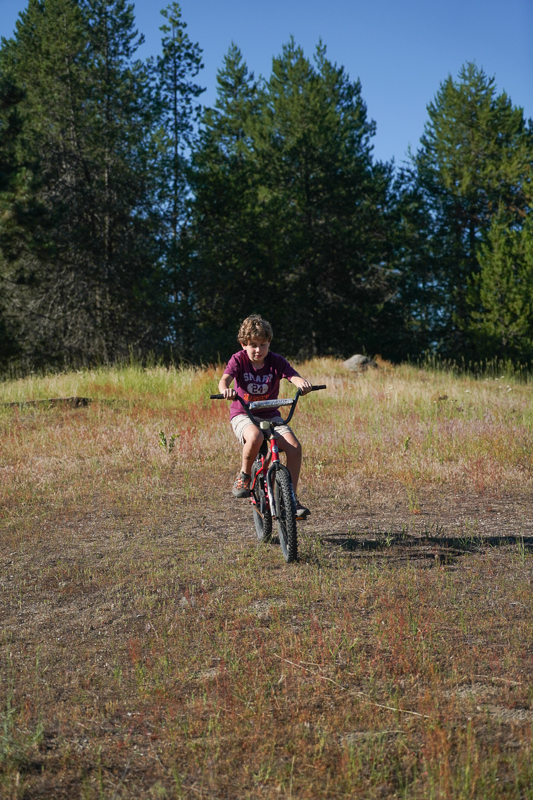
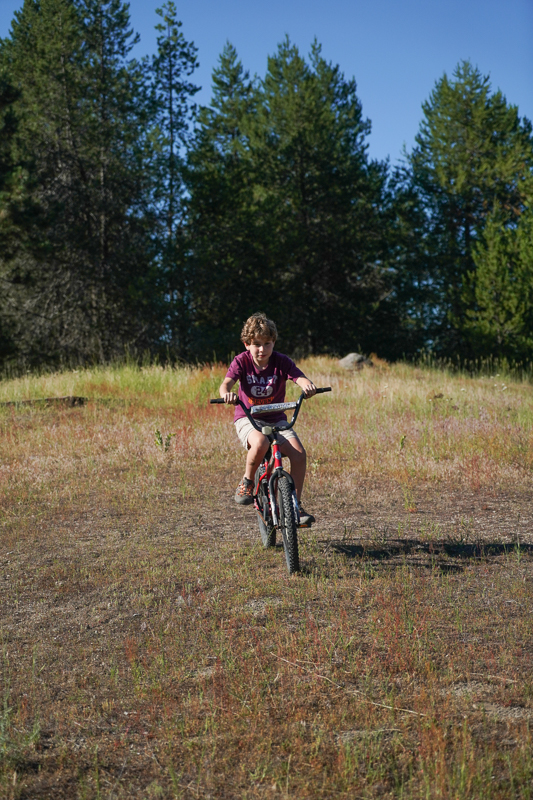
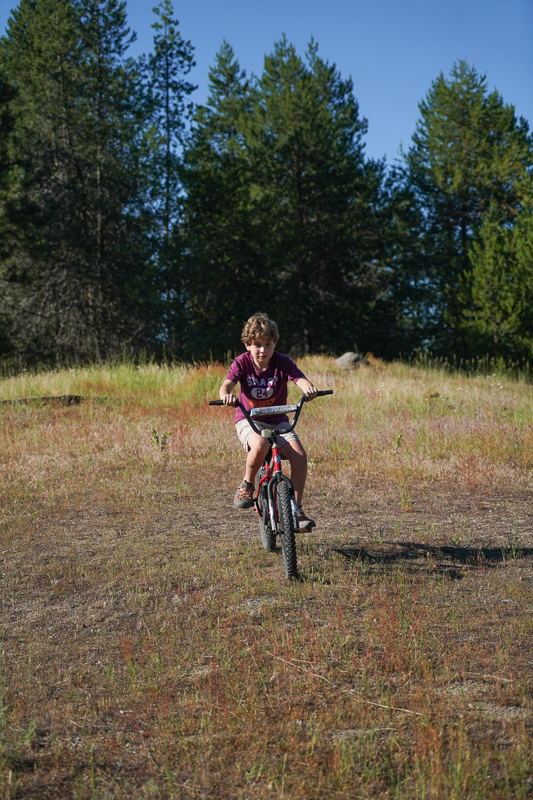
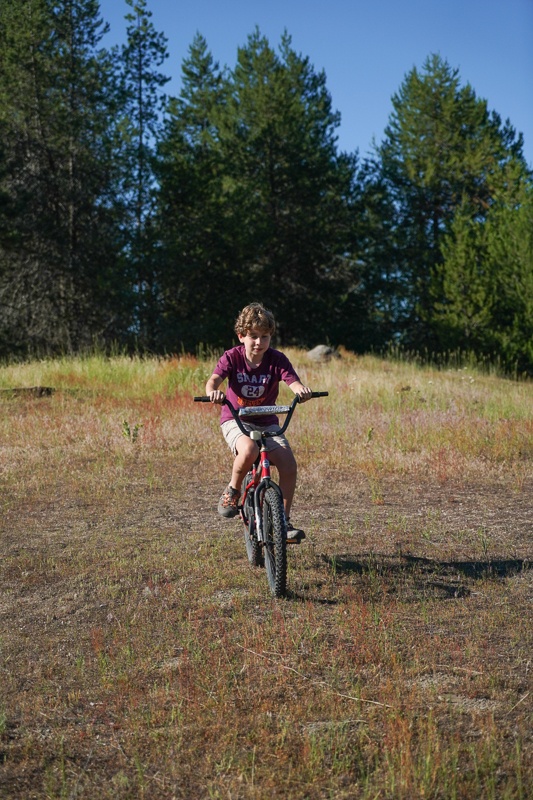
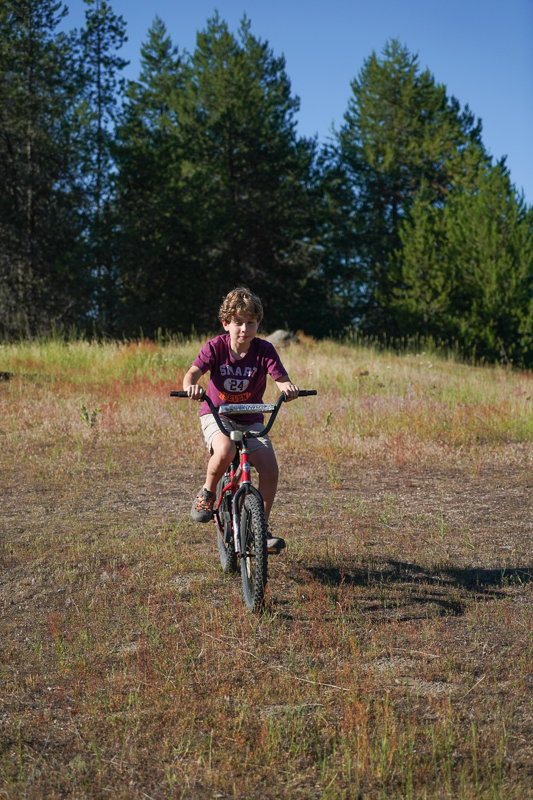
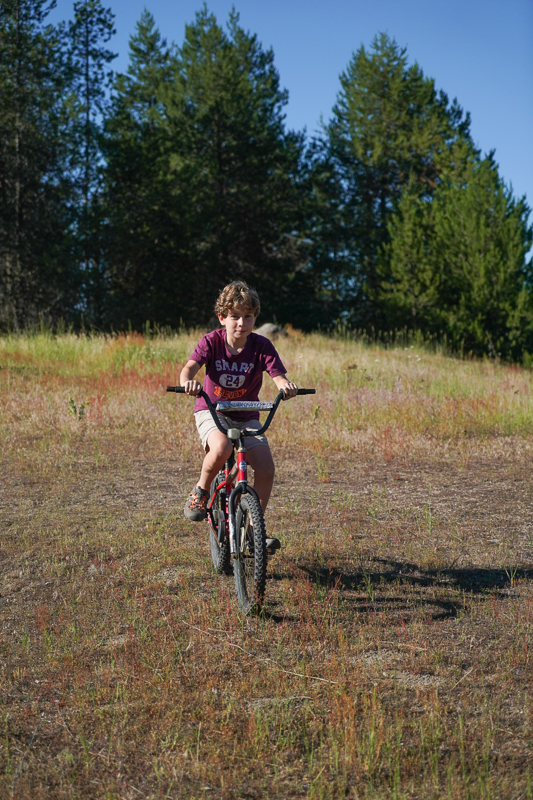
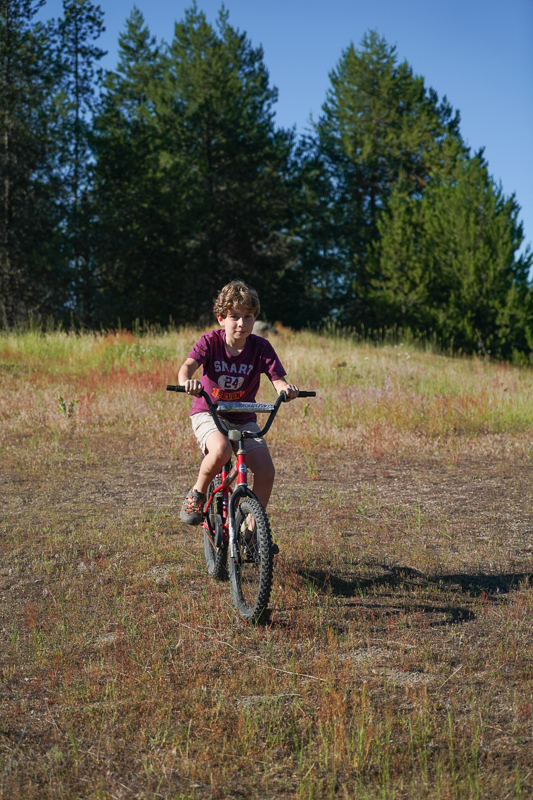
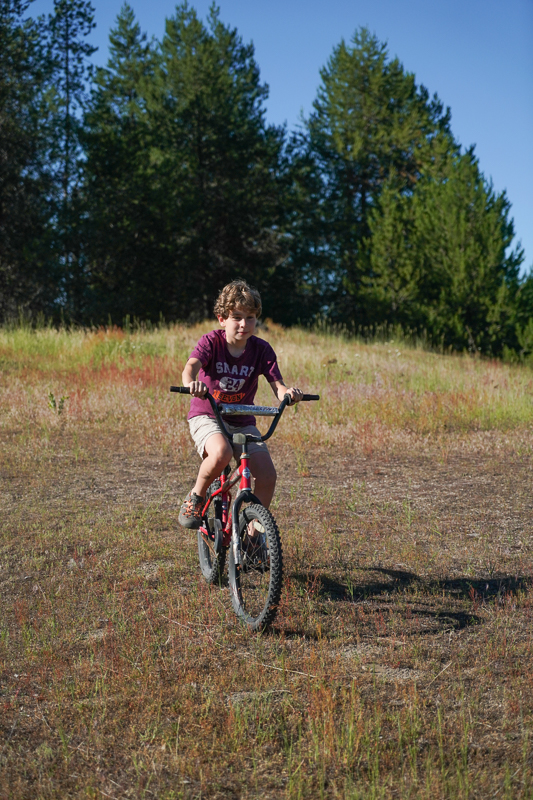
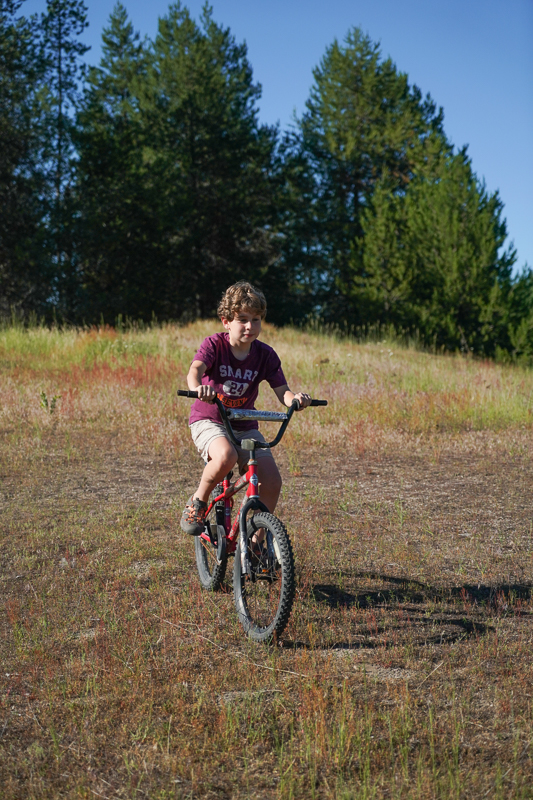
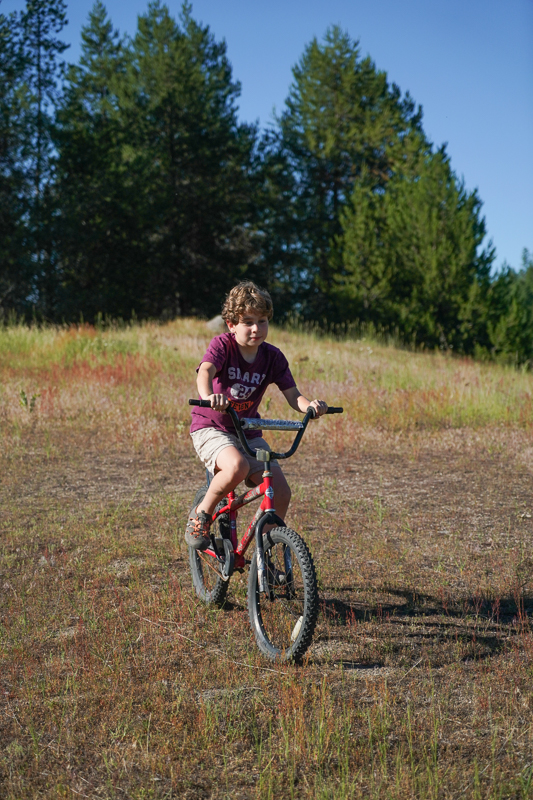
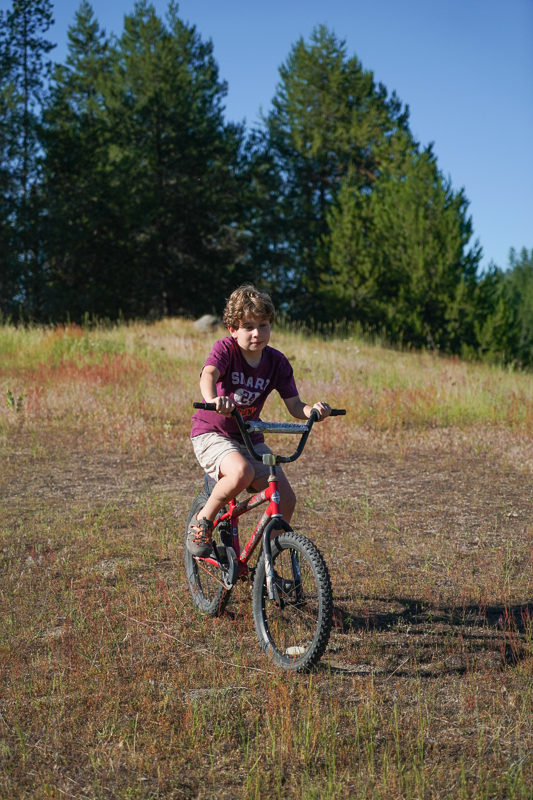
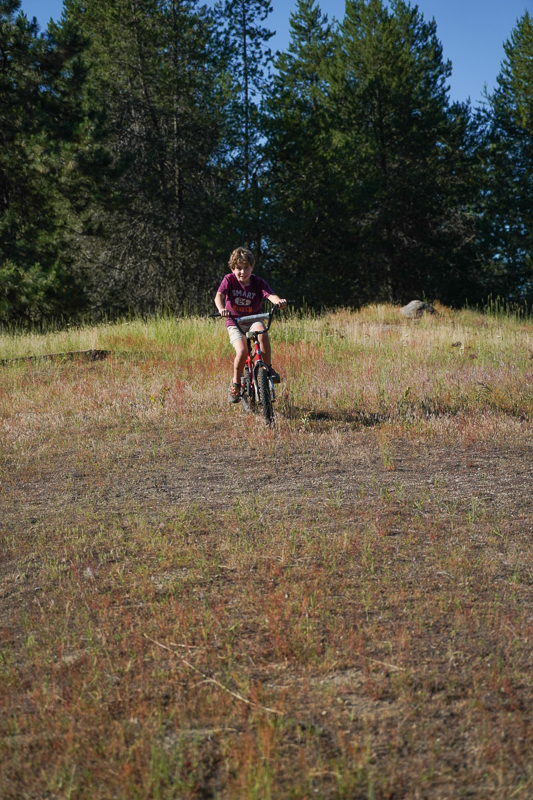
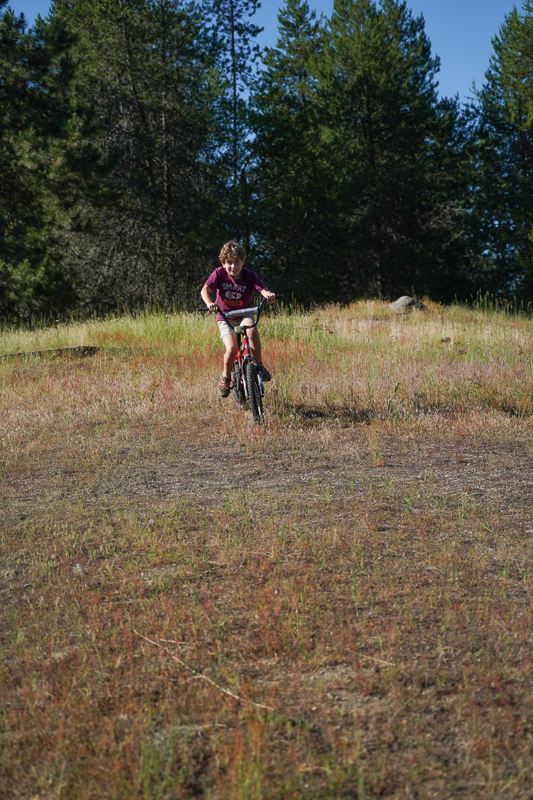
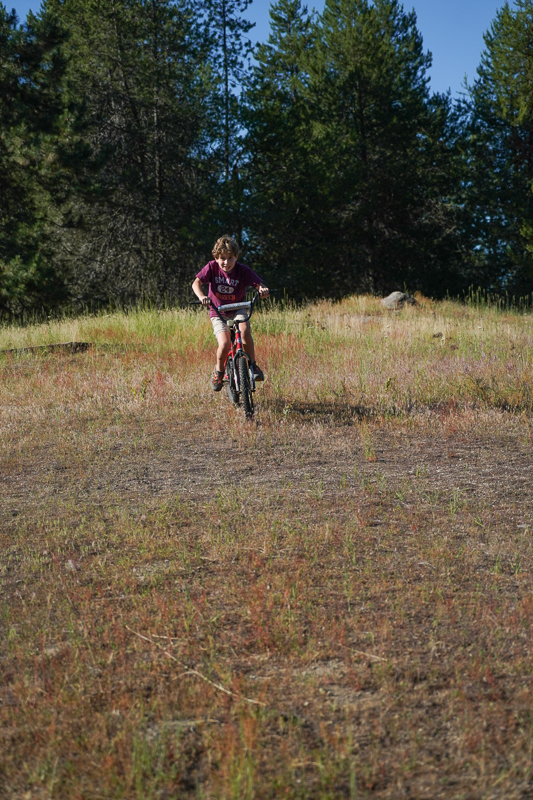
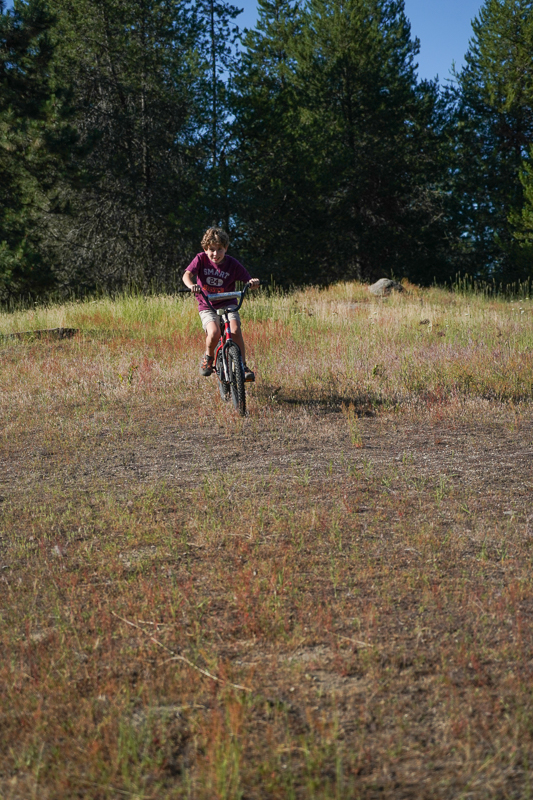
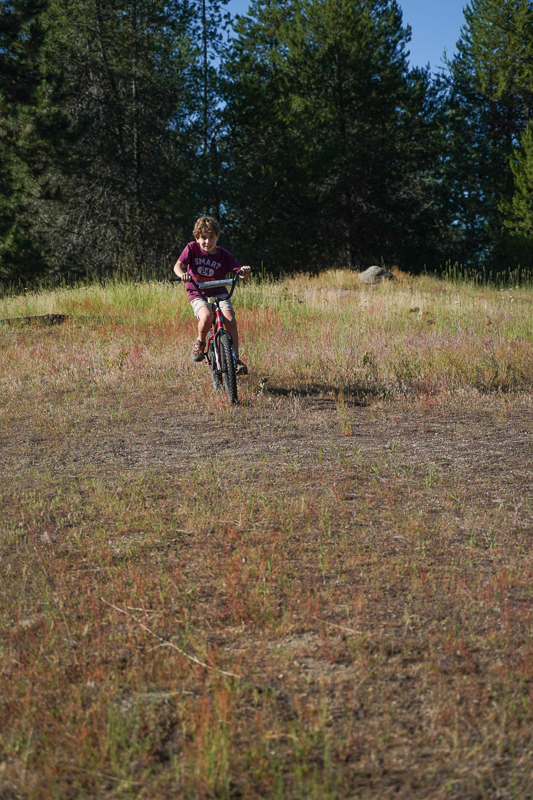
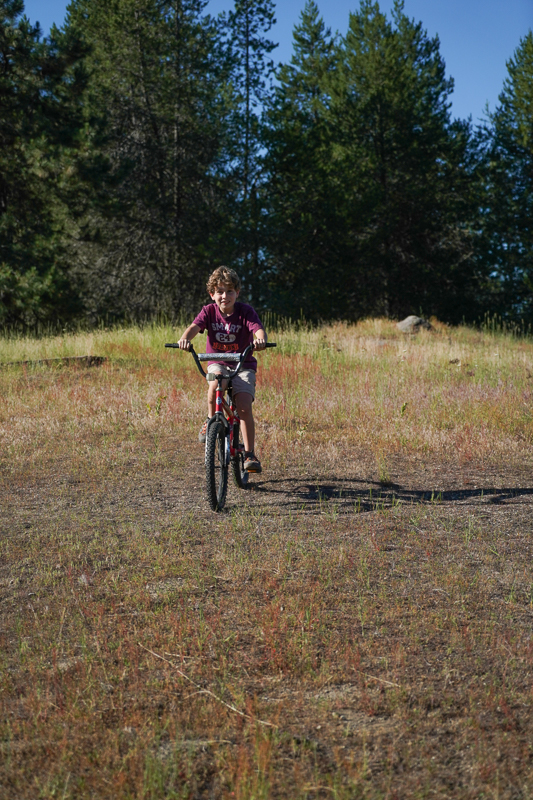
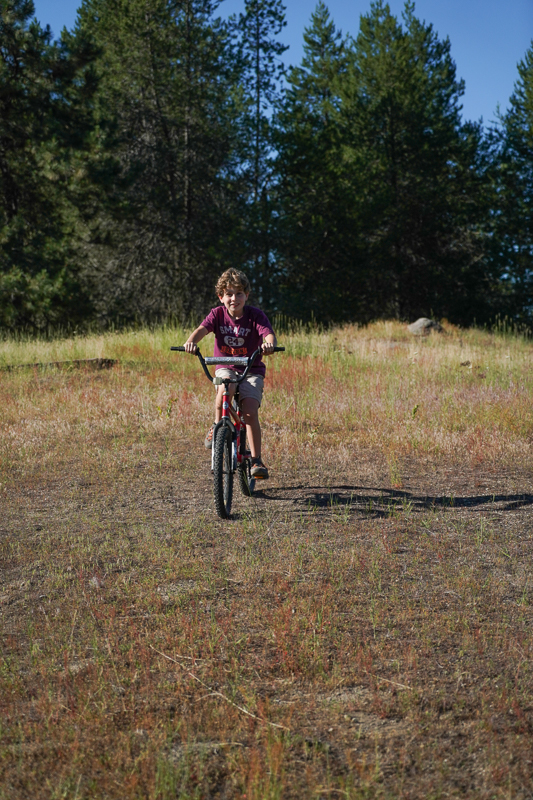
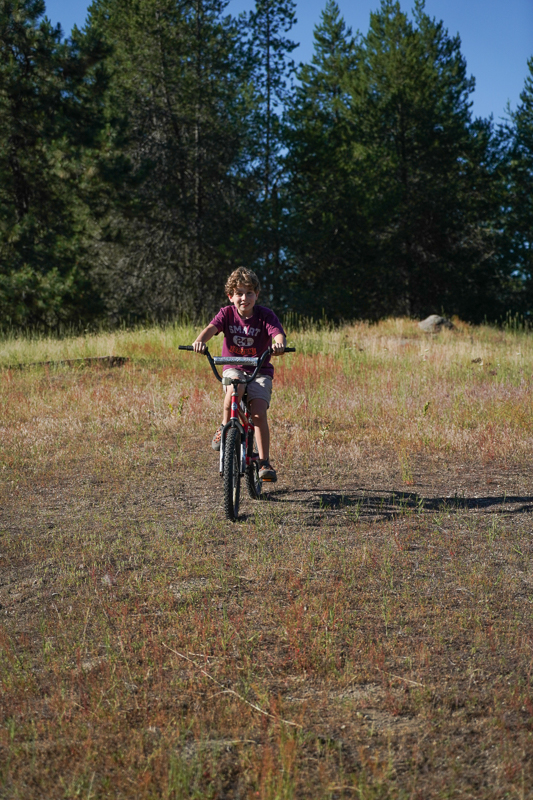
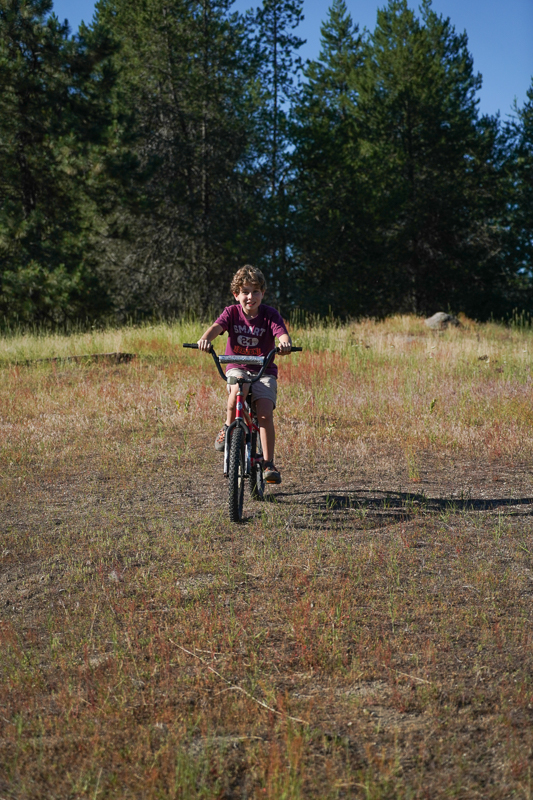
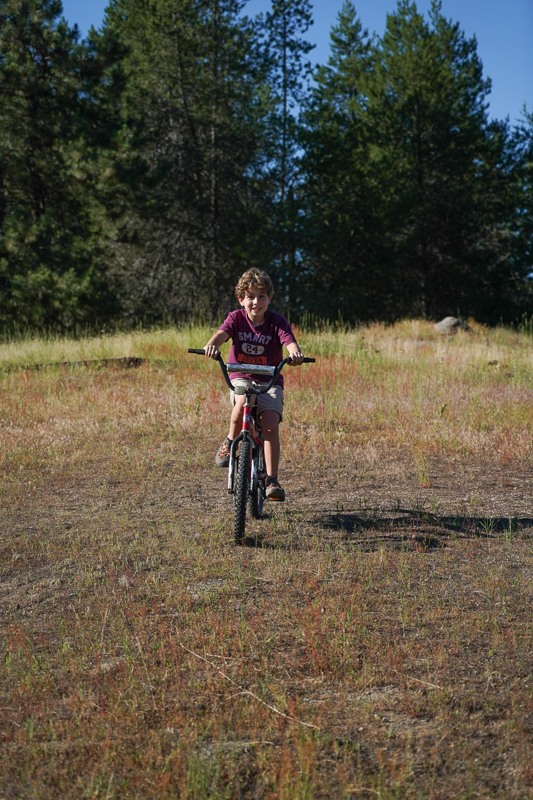
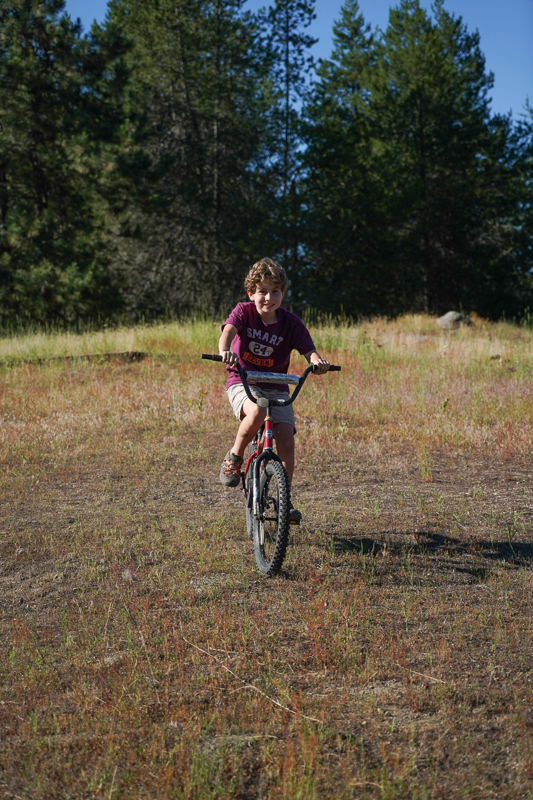
I put the AF through its paces in three tests using a challenging subject: a hyperactive 9yr old cycling down a hill towards the camera (aka Jonah, my son). I executed 3 separate tests using the A9 coupled to a Zeiss 24-70 f/4 lens. The camera was set to AF-C and Lock-on AF: Flexible spot Medium. Two of the tests were down the same hill while the 3rd was performed in an area with tree cover and spotty light in an attempt to challenge the AF system. 20 images from each sequence were placed in the galleries below. Incidentally, I set the lens aperture to f/4 to ensure the resultant focus wasn’t due to depth of field.
AF Test 1
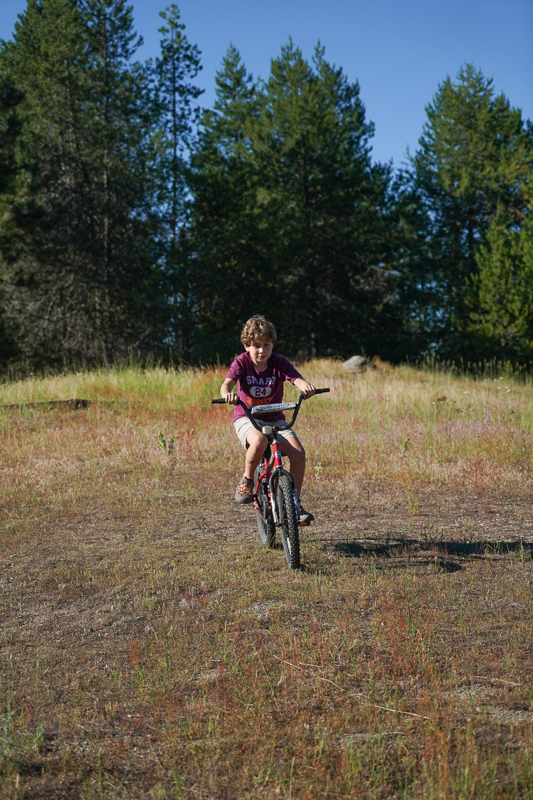
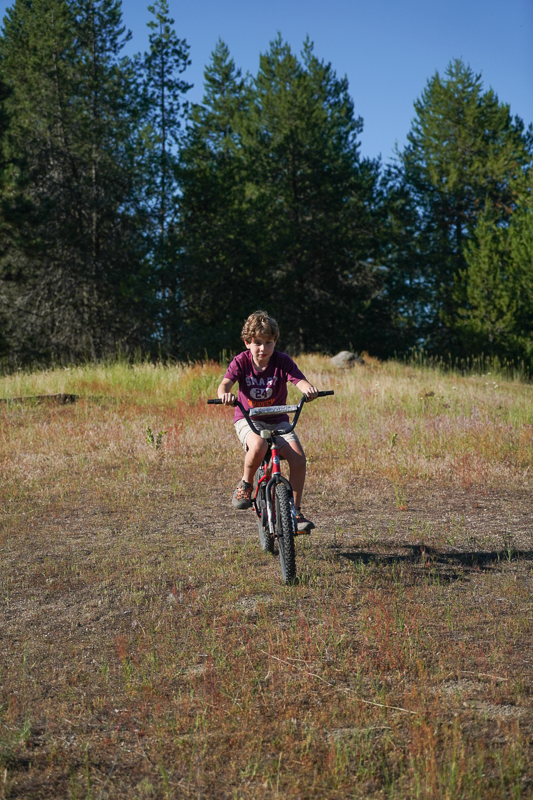

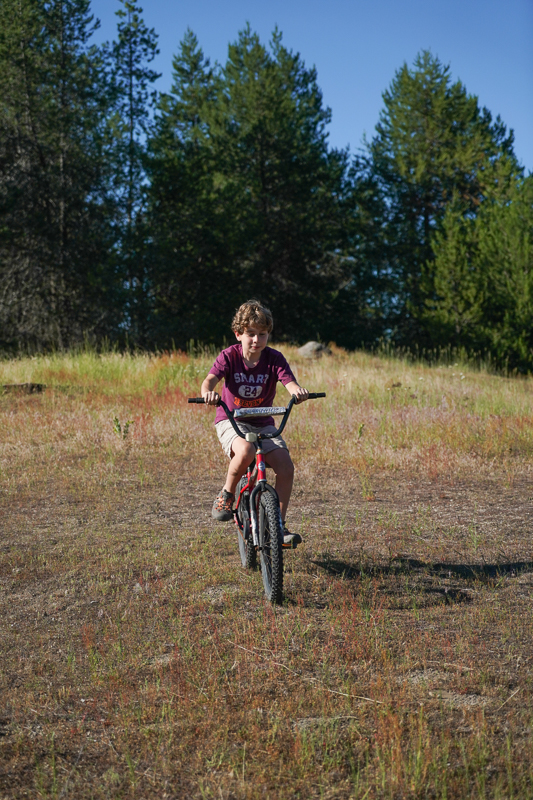
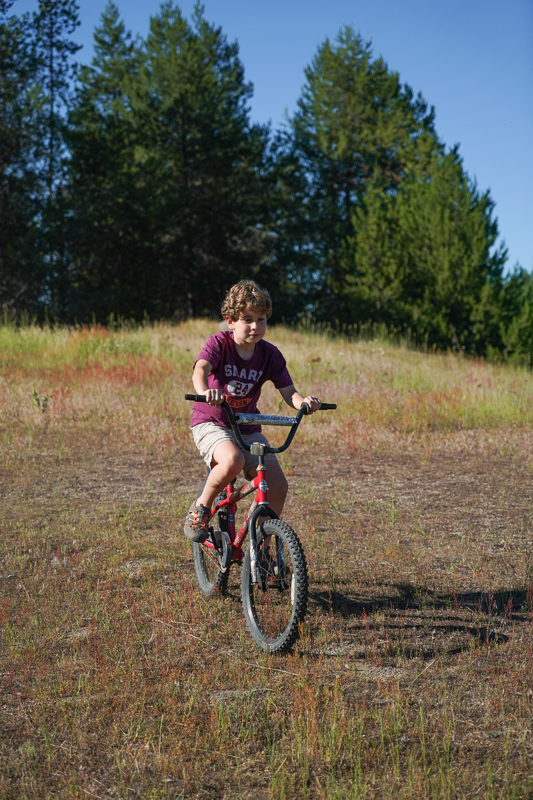

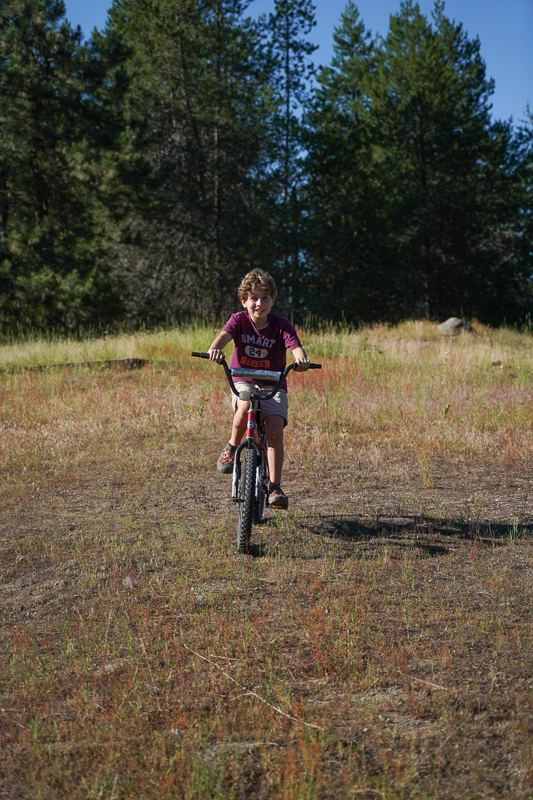
AF Test 2
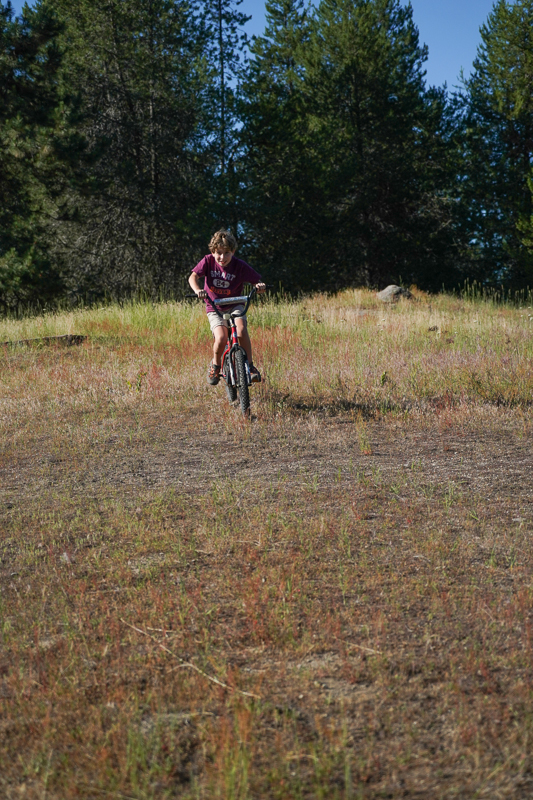

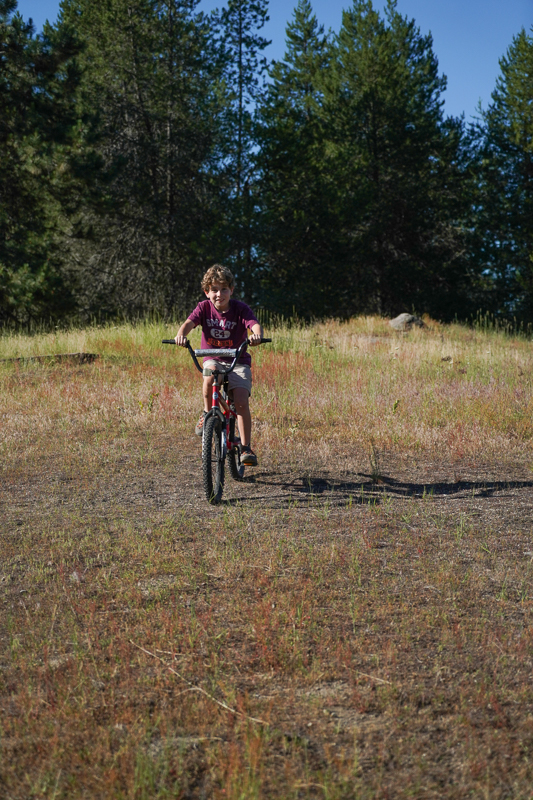
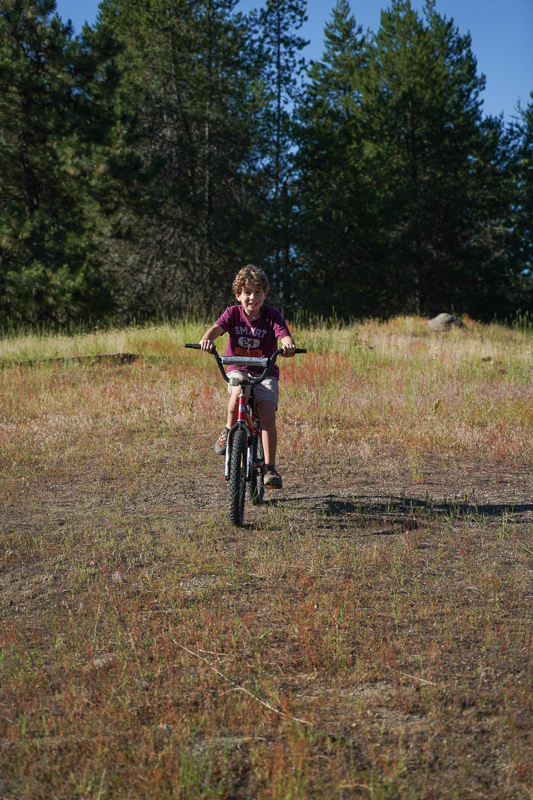

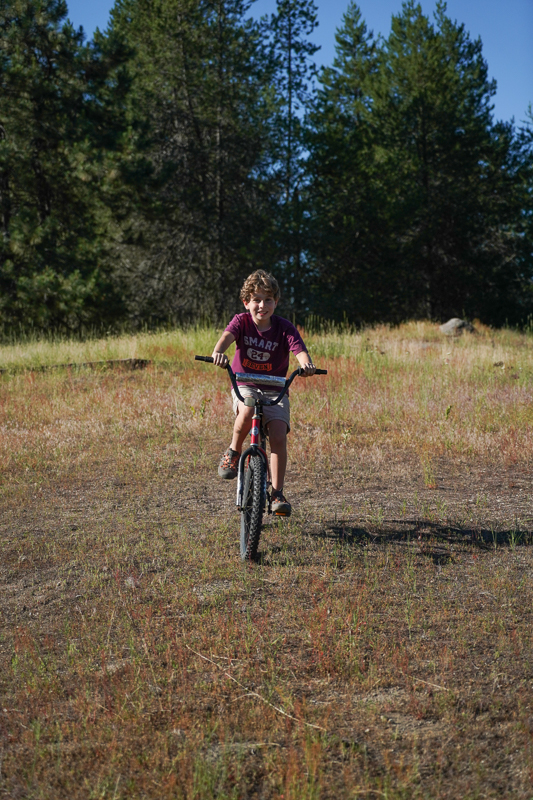
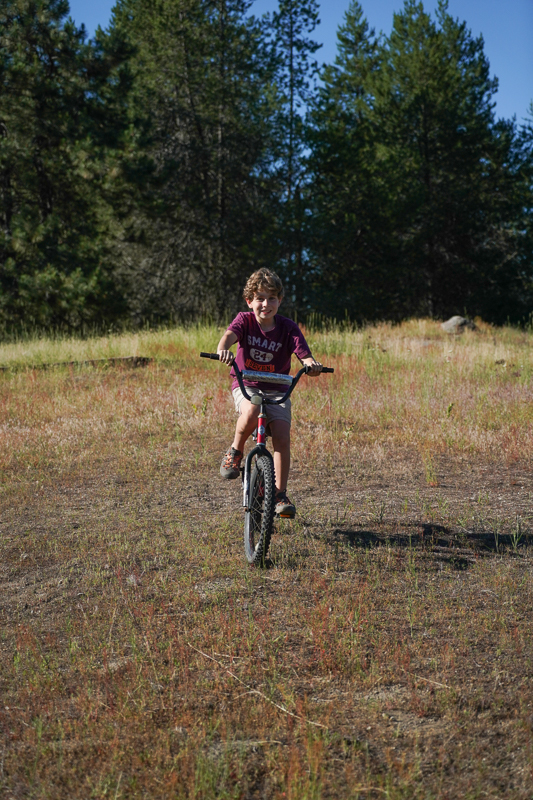

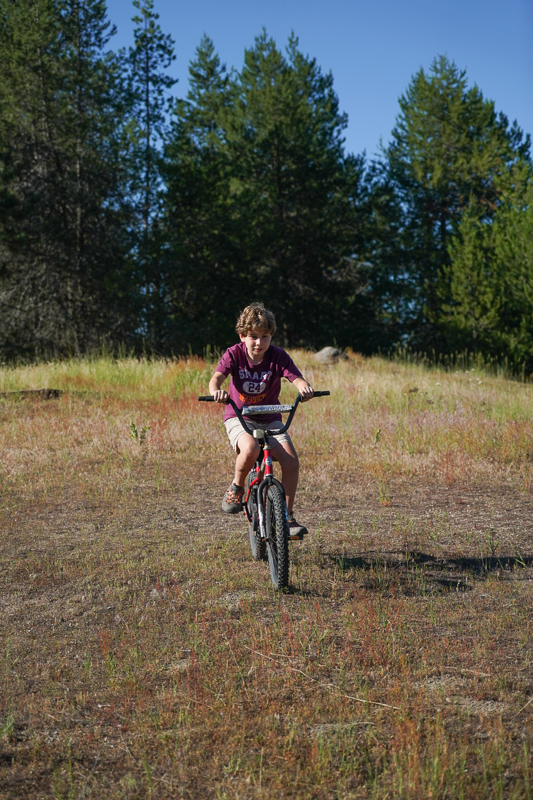
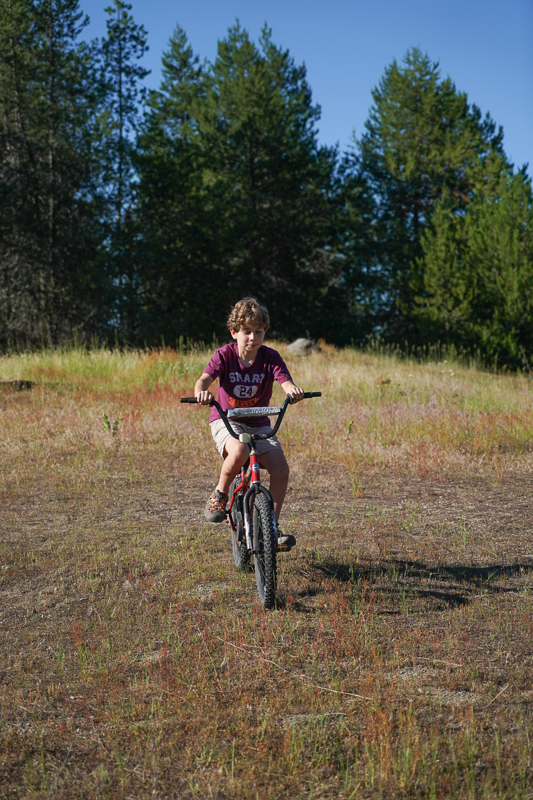
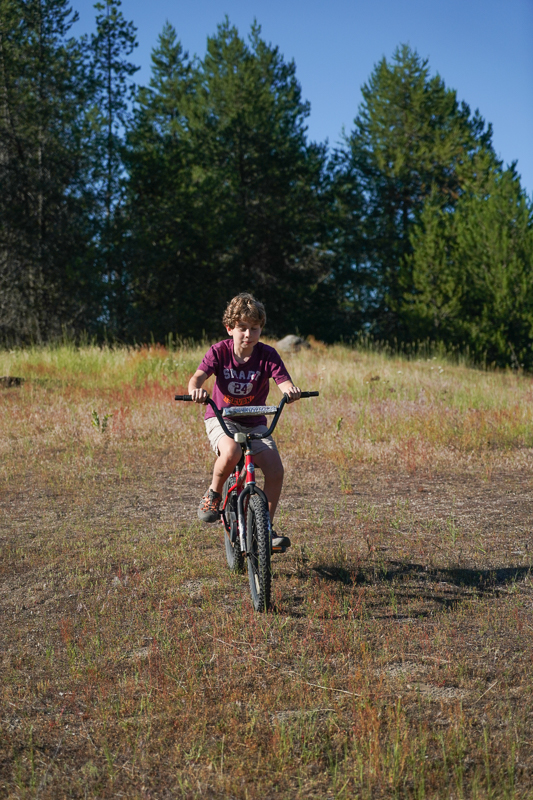
AF Test 3
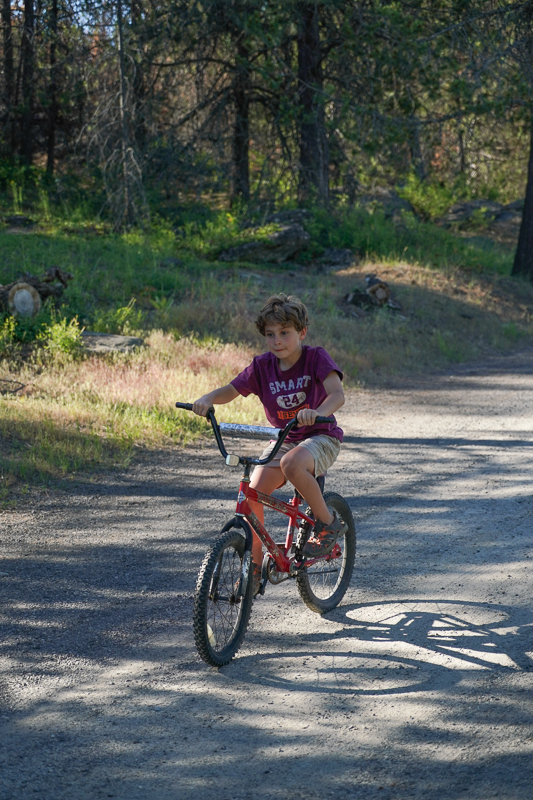
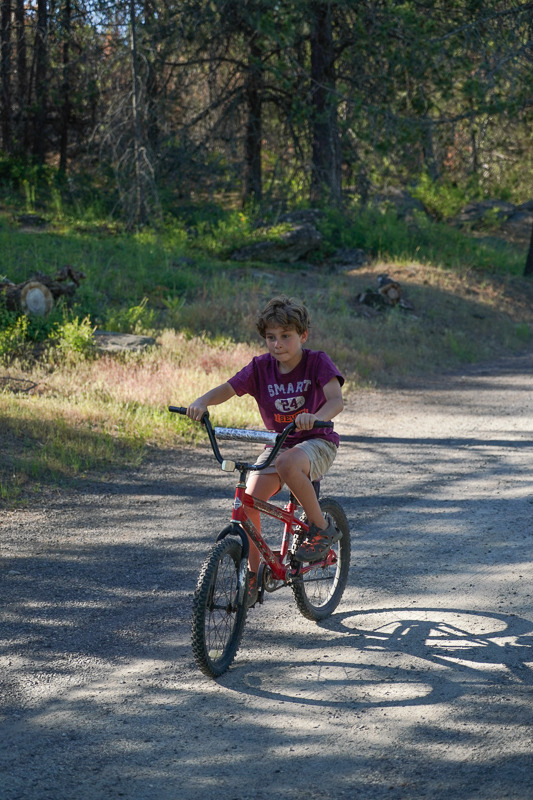
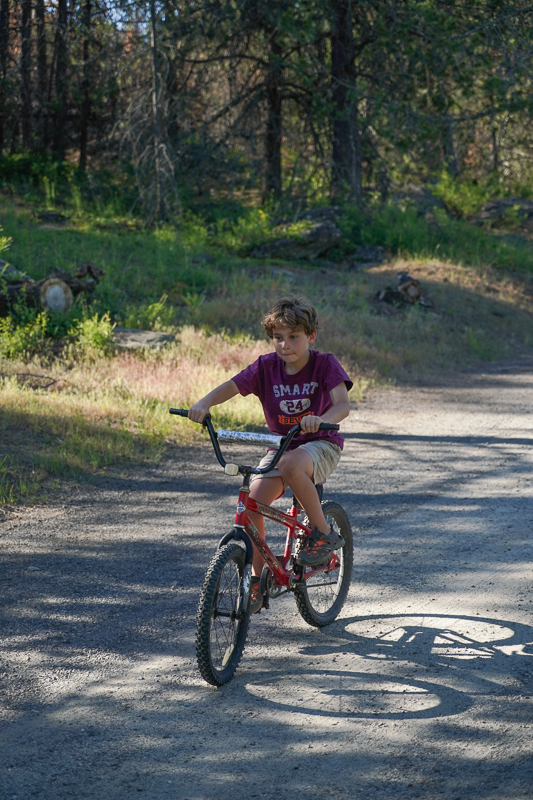

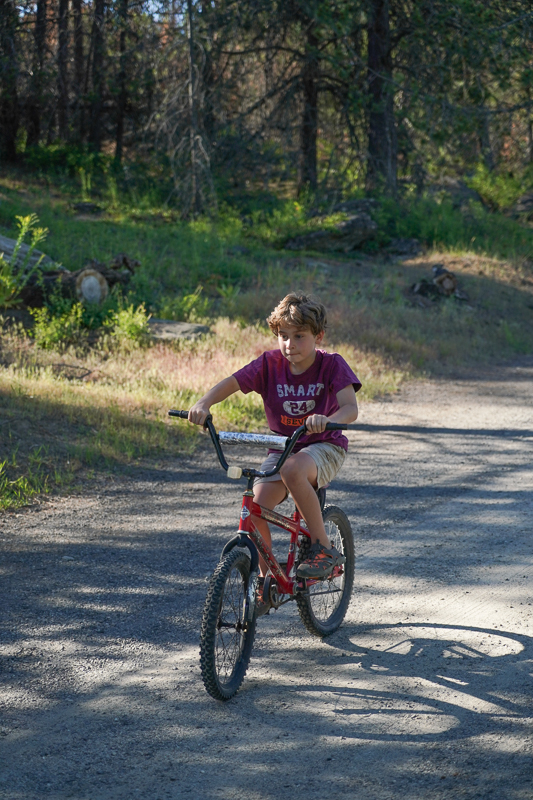
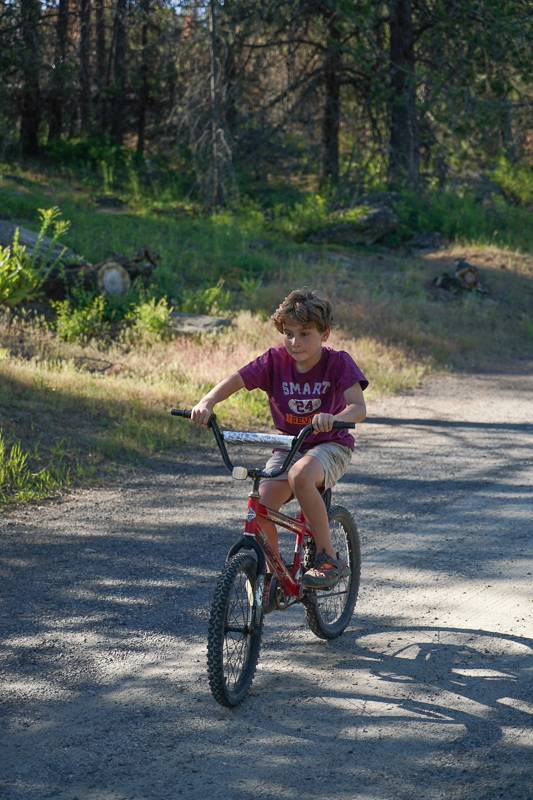
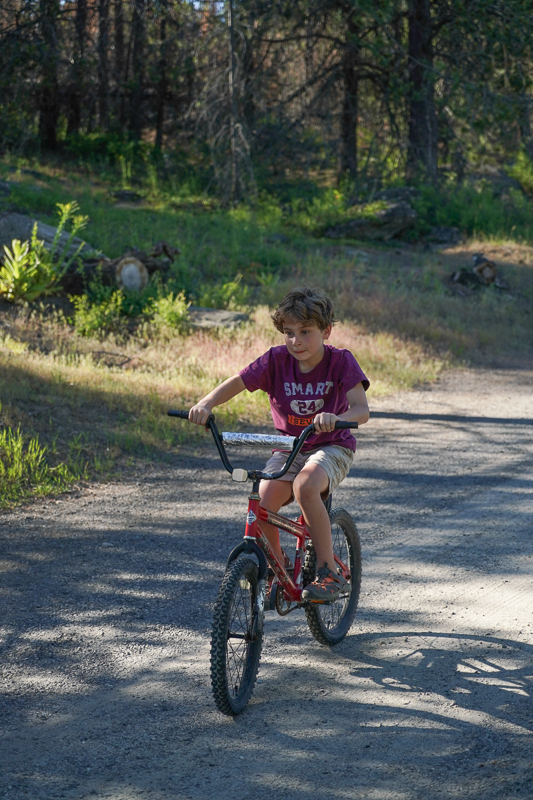
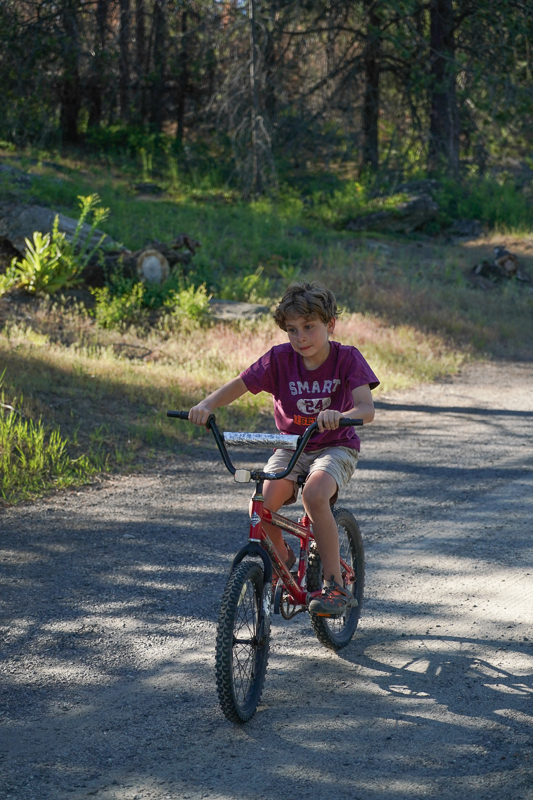
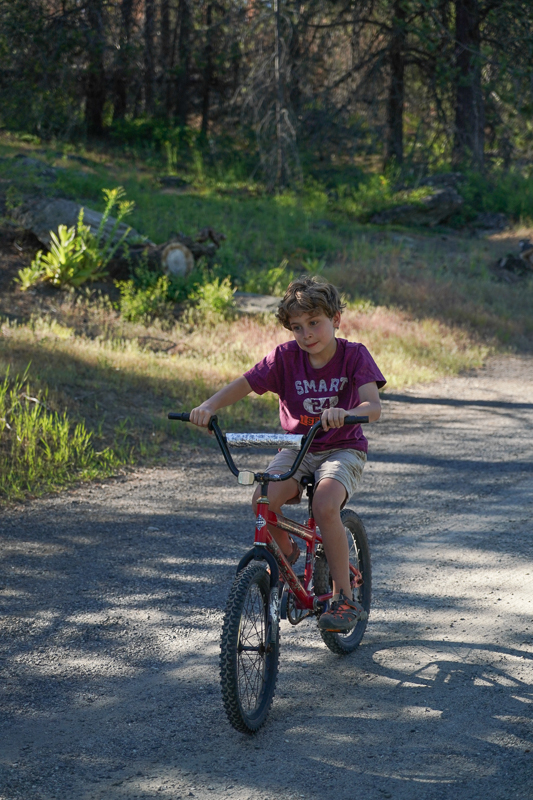
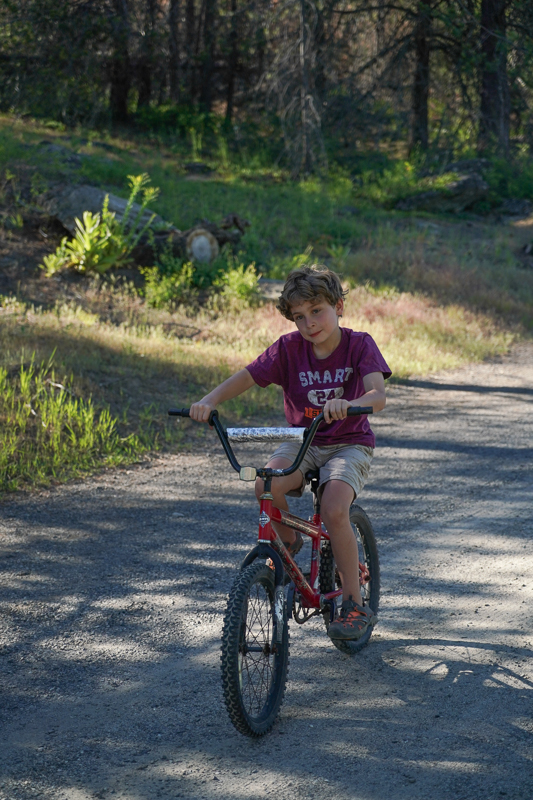
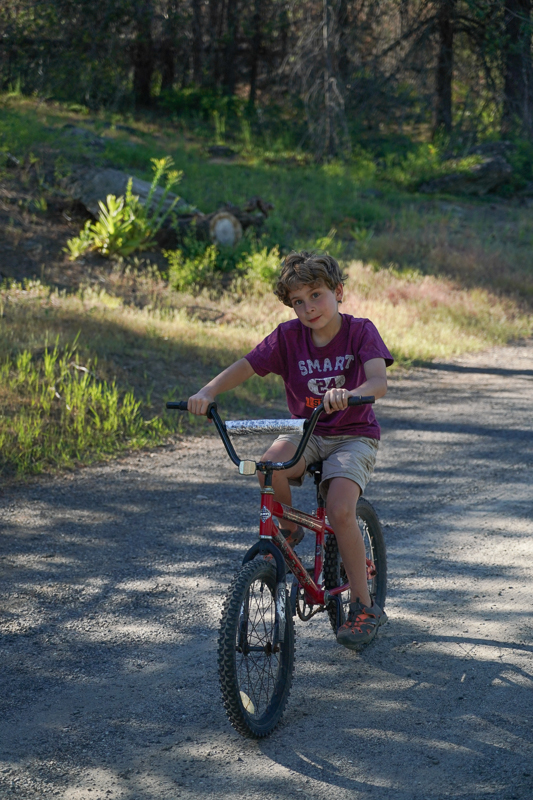


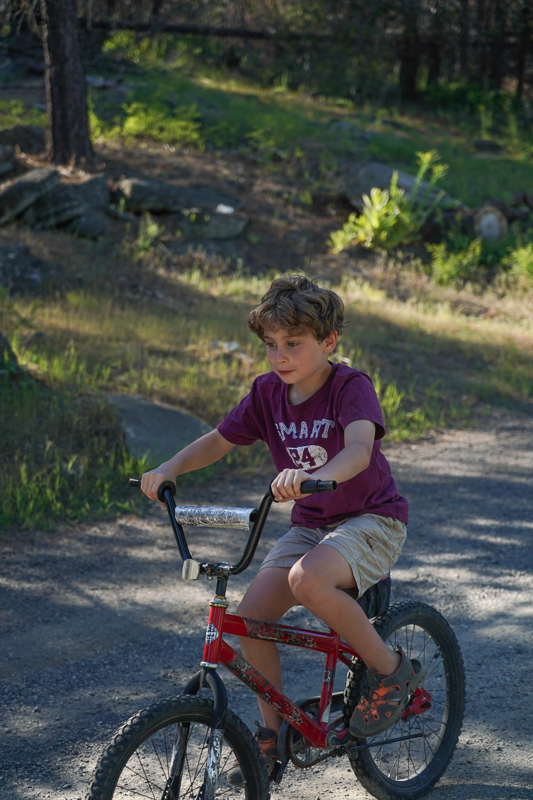
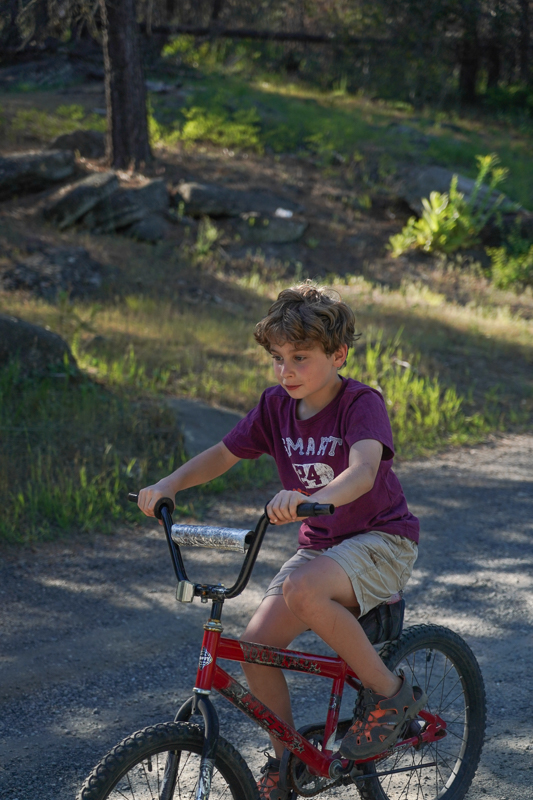
Overall the AF was solid. The keeper rate across the tests was very impressive considering the test involved a subject moving towards the camera. I did have a few shots near the end of the sequences as Jonah moved close to the camera. I believe this was due to the focus point shifting away from his face as he approached due to him being in close proximity. Nonetheless, I feel comfortable wielding the A9 for its main calling: sports and action photography.
Video
This was a fun one. I wanted to give the A9 a challenge and also use it in the wild – not in a controlled environment. I wanted to “run and gun” with it and create a video.
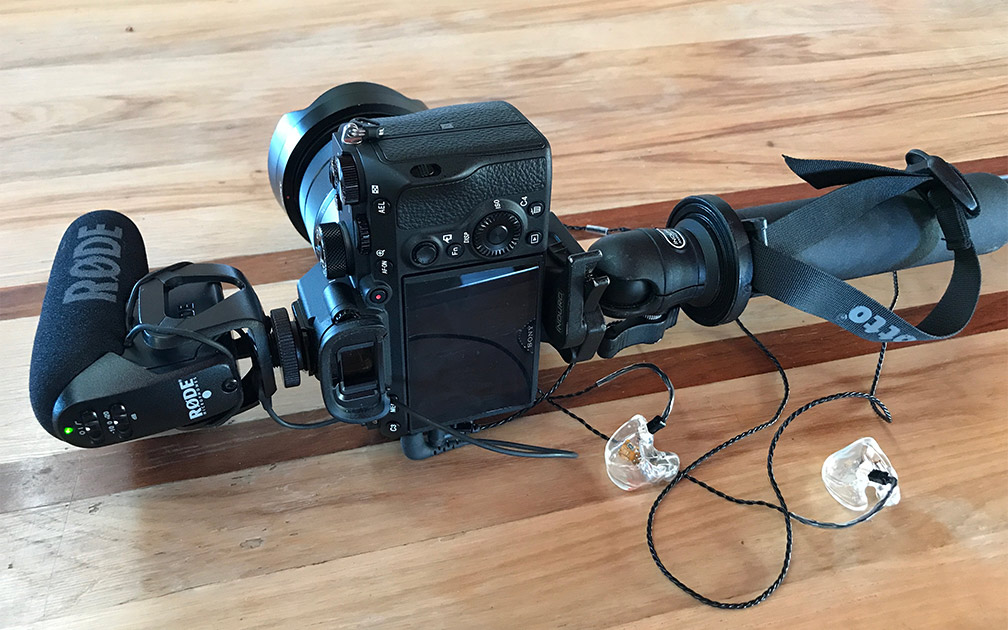 Sony’s A9 setup for video with a Manfrotto monopod, shotgun mic, and headphones to monitor audio
As you might know, I’m traveling full-time across the country from Key West to Alaska over the next couple of years in an RV (I’m currently in Montana just outside of Yellowstone National Park and heading east through the summer to arrive in the northeast for the fall colors). If you’re interested in the travel side of things, you can read more about life on the road at ChaseTheSky.com. But I digress. For the A9 video test, I decided to document my wife Jenni’s first jump with SkyDive West Plains in Washington.
A bit of background on the footage: all the on-the-ground video was captured using the A9. All in-air footage utilized a GoPro Hero 4 Black. As it turns out, you can’t take along your own camera with a skydive crew without a significant number of jumps under your belt. It’s also generally not advisable to drop a $4500 camera out of an airplane with someone who’s jumping out of an airplane for the first time (consider that a pro tip!) Incidentally, Jenni and the A9 both survived the video.
Another note on the footage: I wanted to let the camera have control as I shot. With the exception of my hitting the AF button from time-to-time, I let the camera manage video capture. Additionally, I used a Rode on-camera shotgun mic for the audio (note: if you want to get the low-down on capturing audio, be sure to checkout my Microphone 101 post where I walk you through everything from using your earbud’s mic to a pro audio setup).
Alright, finally, the video is below. Be sure stick around to the end for the outtake, you’ll get a kick out of it.
You’ll notice a short bit of the camera going out of focus at 1:20. I had pressed the AF button to see what the camera would do. As you can see, it sought to refocus. I do think focus would have been fine had I left the camera alone. Would it have been better for Sony to have designed the A9 to ignore my focus request? I’ll say no. I want to be able to focus as I want, and I’m glad I was not overridden by the camera.
You’ll also notice the camera went out of focus around 4:15 as the plane rotated off the ground. This was my fault as I had set the focus point to the upper right hand corner of the viewfinder prior while waiting for the plane to taxi and I did not change the focus point during takeoff. I don’t think I would have had focus issues had I used a wider focus area. It was nice to see the A9 recover nicely and track the airplane as it moved past the camera in perfect focus.
I was also pretty impressed with the camera’s ability to focus on the two parachutes in the air against a blue sky. I expected the camera to struggle here because the subjects were small, but I was happy with the results.
Overall on the video, and keep in mind I’m a photographer not a hardcore videographer, I was impressed with the A9‘s ability to focus during video and to handle shifts in dynamic range. You’ll note several times during the in-car footage where the available light shifted, yet the A9 handled the changes well.
The Gestalt of it All
There is no doubt that the Sony A9 is an impressive camera. The AF system is a solid performer even in low-light, and the high resolution no-blackout viewfinder delivers a low-friction shooting experience.
The improvements in battery life feel almost like a return to DSLR battery longevity and the new controls and menus make the camera more intuitive to use than Sony’s A7 line.
But specs, features, button placements, and the like only tell part of the story. What really matters day-to-day is how does the camera feel. Is it in your way? Does it help you get the job done? Is it easy? Is it cumbersome?
All-in-all I’ve really enjoyed the A9 and have no hesitation recommending it- especially for wedding and sports photographers. Yes I have quibbles with the AF ON button design and placement, but overall the camera is intuitive to use and it let’s me easily go about the business of capturing images. You don’t have to work around it. It works with you to let you do what you need to do.
Where to buy:
Sony A9 at B&H
Sample Images
Below are edited images created specifically for this review from a couple of nights in, and around, Seattle.
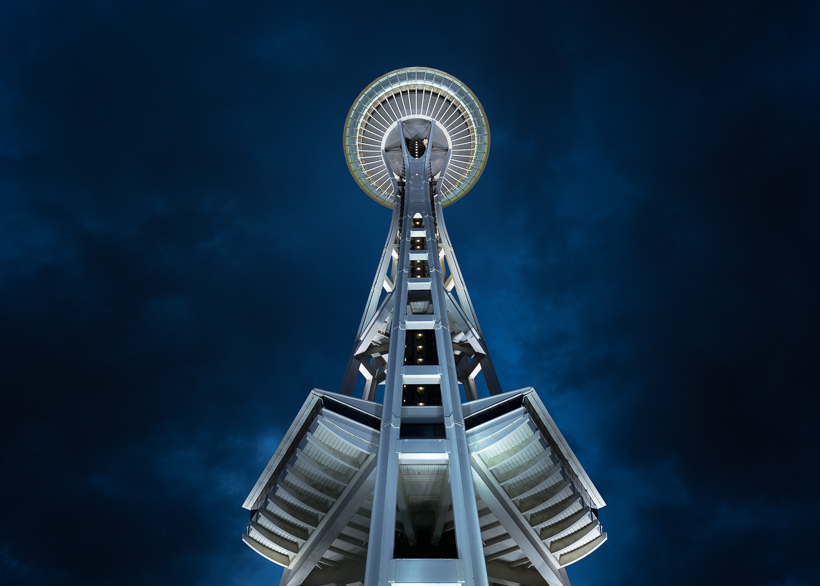
Seattle’s Space Needle at blue hour

Frank Gehry’s Museum of Pop Culture & The Space Needle
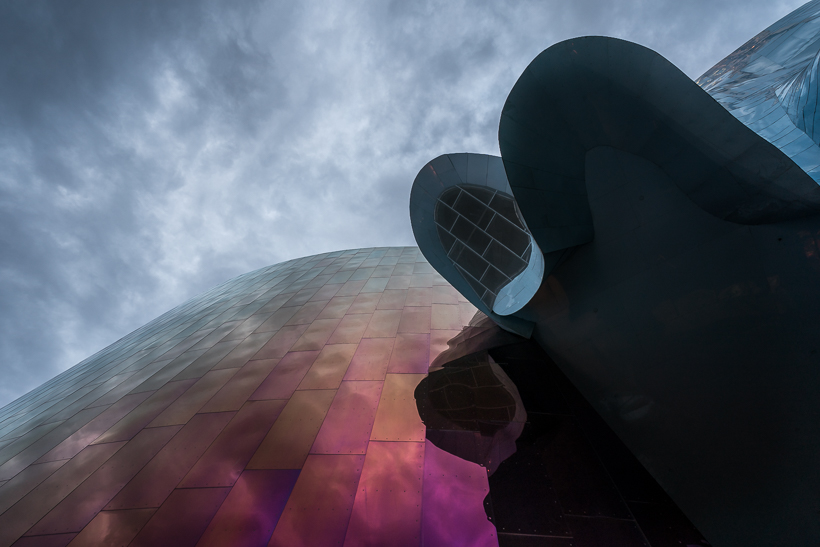
A look up at the Museum of Pop Culture

Alien Edifice: the Museum of Pop Culture
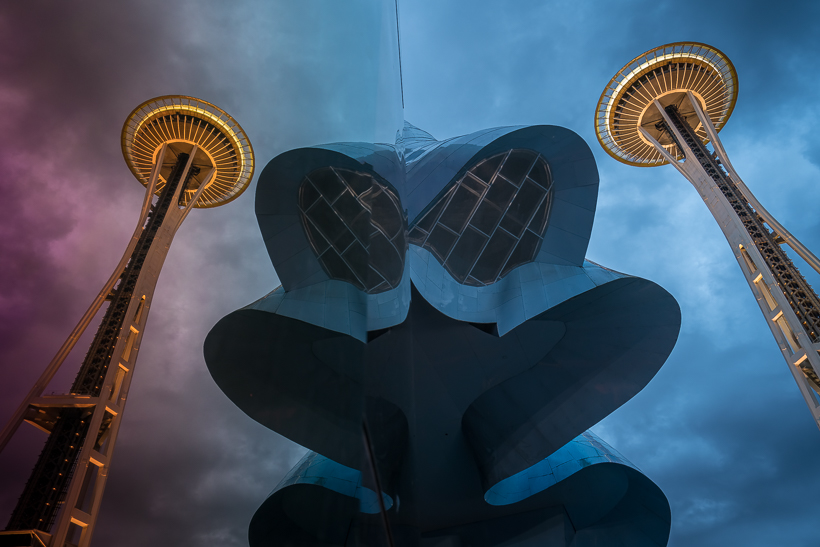
A reflection of the Space Needle at the Museum of Pop Culture
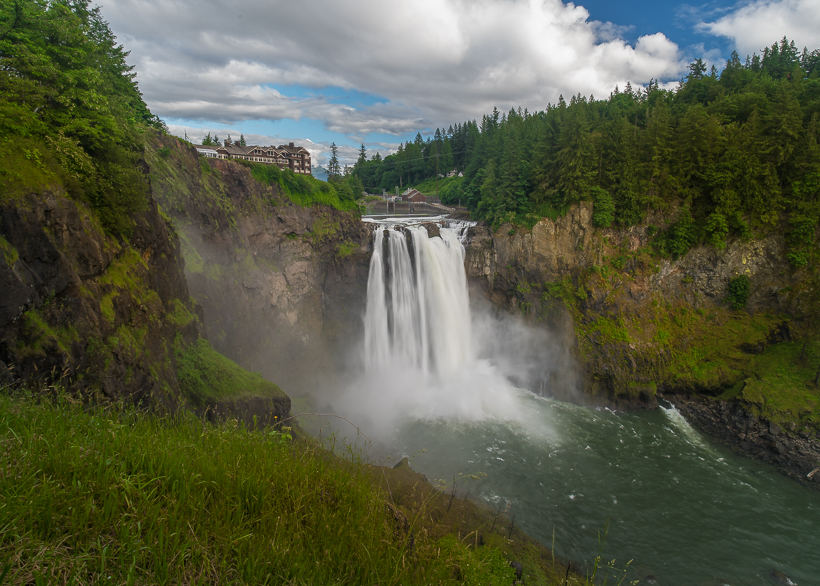
Snoqualmie Falls

Having 20 frames per second gives you the opportunity to capture the right moment. This, by the way, is my family Jenni’s skydive. This is the relief after the fear shot (checkout how scared she was here)
Sep
04
2014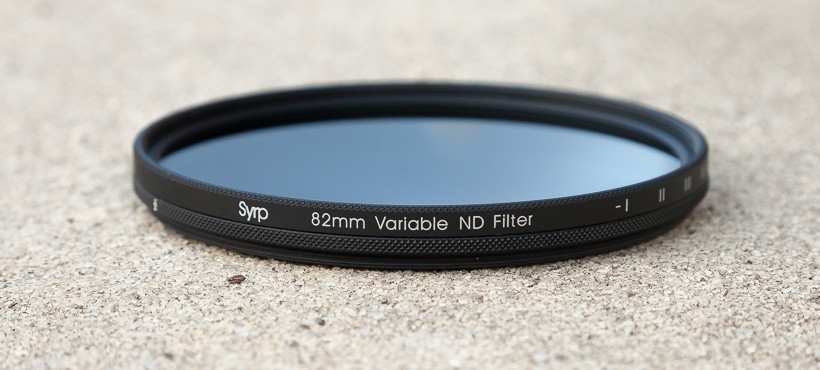
Syrp is one of those companies you’re happy to see succeed. Just take a look a Syrp’s team and how they describe themselves in their contact page to get a sense of the Syrp mindset: just plain cool. The company started with a successful kickstarter campaign to launch the ambitious, yet well-implemented, Genie Motion Control Time Lapse head. Not being content to just stay still, though, Syrp recently introduced two new products: the Magic Carpet Slider and the Variable Neutral Density (ND) filter.
I’ll get to the Genie and Magic Carpet Slider in upcoming posts. Today, we’ll be looking at Syrp’s ND filter.
What is it & A little bit of background
Constant and variable ND filters have been used in astronomy, cinematography, and photography for some time. Ask any amateur astronomer how they attenuate (i.e. reduce) the full moon’s light, and they will reach into their bag and show you a small variable neutral density filter. Cinematographers use ND filters to allow for shallow depth of field shots during the day, and photographers use them to create a sense of motion in brightly lit scenes. Ever lamented your inability to use a slow shutter speed to photograph a waterfall at mid-day? You would have been able to if you had a neutral density filter.
How Neutral Density filters work
Variable NDs are comprised of two polarizing filters stacked on top of one another. A polarizing filter, as you may know, works by blocking incoming light at 90 degrees to the filter. Stack two filters on top of one another at 90 degrees, and they can block out a significant amount of light. In the case of the Syrp variable ND filter, that amount of light varies from 1 stop (i.e. ½ the light) to 8.5 stops (i.e. 17 times less light) depending on the relative angle of the two polarizers to one another.
Think of it this way: if the relative angle of the two filters is zero, you get the minimum attenuation. Conversely, at 90 degrees, you get the maximum attenuation. Stated simply, you turn the variable ND filter one way you get less light; turn it another, you get more light.
Variable vs Constant Neutral Density Filters
Sounds great, so why aren’t all ND filters variable? Why do manufactures even sell constant filters? The reason for this is making a good variable neutral density filter isn’t easy. Variable ND’s are susceptible to color shifts. If not done right, a variable ND’s color shift can vary widely across the rotation range. On one end of the rotation you might get a blue-red shift, while on the other, you get a green shift. That said, even constant (i.e. non-variable) neutral density filters, have color shifts. But, those color shifts are, as might be expected, constant (for obvious reasons.)
Additionally, keep in mind a variable ND stacks two pieces of glass on top of one another in front of your lens. If the materials and craftsmanship aren’t top-notch, a discernable loss of sharpness can occur- often in the corners, but also in the center of the frame.
Large Vs. Small
Syrp created two versions of the ND filter: large and small. The small filter is 67mm and comes with step-up rings for 52mm and 58mm lenses. The large filter is 82mm and comes with step-up rings for 72mm and 77mm lenses. Both filters come with a sweet leather case (seriously, it’s a thing of beauty) and a cleaning cloth. Pricing is $139 for the small filter and $189 for the large filter.
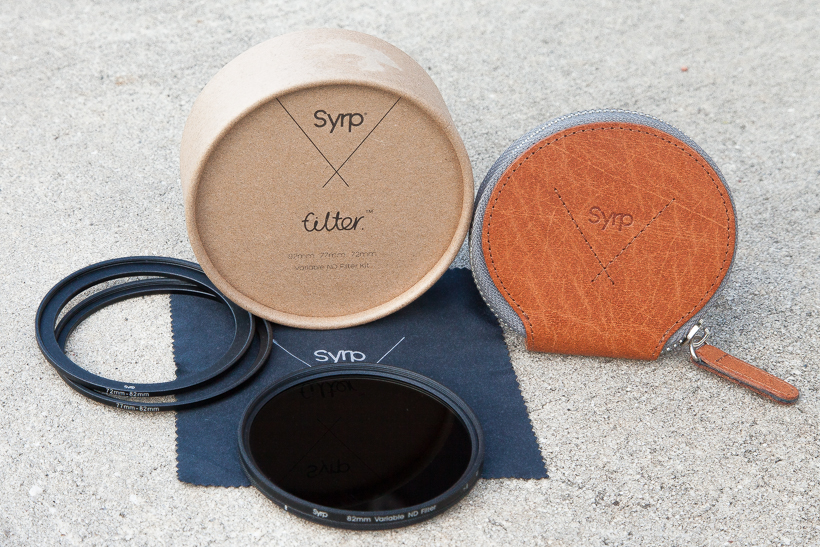
The Syrp Variable ND Filter: everything in the box
Color & Sharpness
I was impressed with the filter’s optical performance. The Syrp Variable ND shows a consistent, and well-controlled, green color shift. I was expecting a lot more variance out of a filter at this price range, but it wasn’t there. Also, the shift is consistent across the rotation range and is easily correctable in Camera Raw or Lightrooom (i.e. you don’t get a blue shift on one end, and a green shift on the other). This is a big deal, because the last thing you want to do is color-correct for every little turn of the filter you might have made during your photo session. I also didn’t see much vingetting; that was a real surprise.
The image does get a bit softer at 8.5 stops than without the filter, but it is usable.
Take a look a the series of images below comparing an image taken with no filter vs images taken with the Syrp variable ND filter at various stops. Drag the slider to see more of either image. The last image you see in the series is a color-corrected image taken with the Syrp filter at 8.5 stops. Note: all the images were taken on a tripod within a few seconds of one another.
No Filter vs Syrp Variable ND at 1 stop
[twentytwenty]


[/twentytwenty]
No Filter vs Syrp Variable ND at 3 stops
[twentytwenty]

[/twentytwenty]
No Filter vs Syrp Variable ND at 5 stops
[twentytwenty]

[/twentytwenty]
No Filter vs Syrp Variable ND at 8.5 stops
[twentytwenty]
 [/twentytwenty]
Image taken with the Syrp Variable ND at 8.5 stops – quick and dirty color correction in Lightroom.

Using It
The stops are clearly defined on the filter as I, II, III, IIII, IIIII, IIIIII, IIIIIII, IIIIIIII, IIIIIIII+ (the last being 8.5 stops). I like that the stops are demarcated, but I think the single notches can be hard to read after about 5 stops. It’s not a big deal, as I was able to tell what stop I was at. But, part of me wonders if it wouldn’t have been easier to just use digits.
Also, while there’s a small indicator dot to line up the stop to, it’s not clear whether I should be aligning the first “I” or middle “I” to the indicator. It would have been great to have a dot to show me where to align for a particular stop.
The stop marks and the indicator are minor quibbles. It’s really not hard to sort out what stop you’re at. Besides, what you’re really looking for when using an ND filter is a target shutter speed. You’re just spinning the filter until you get to your desired shutter speed. Do you really need to line up an indicator to a dot? No, you don’t.
I did have a bit of stickiness with the step-up ring to my Canon 77mm lenses. However, I never had to use a filter wrench to remove the filter. The filter motion is smooth.
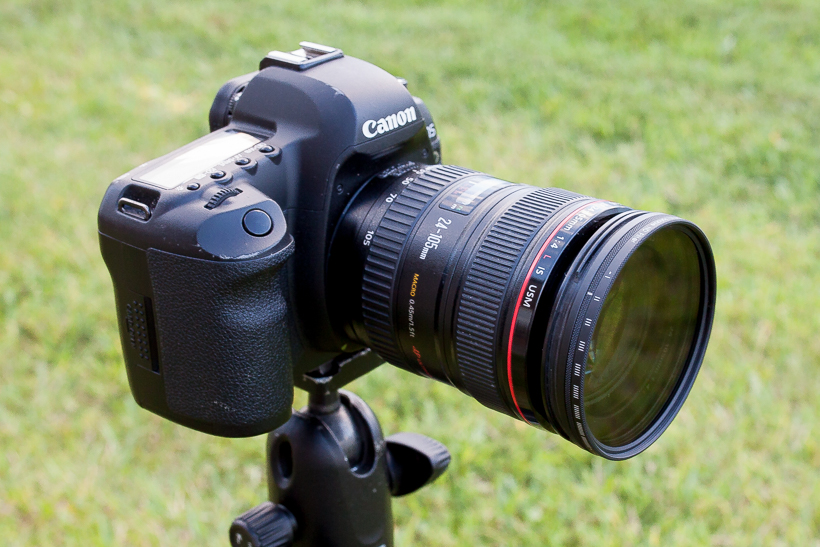
The filter mounted on my battle-scarred 24-105f/4L
Should you buy it
Some minor notes on numerals and stop indicators aside, the Syrp Variable ND filter is a strong performer. It shows a consistent, well-controlled, and manageable color shift across the rotation range while still yielding a sharp image. That’s a lot to pack into a sub- $200 variable ND.
At $139 for the small and $189 for the large filter, the price is well below comparable filters from B+W and Singh Ray (where you’ll be spending $300 and up). All-in-all, you get good optical performance at a decent price. Besides, you’ll really want that filter case!
Where to buy
B&H: Syrp ND Filter – Small
B&H: Syrp ND Filter – Large
Jun
10
2013
Sunsets produced by tropical storms and hurricanes are paradoxically serene. This sunset, photographed in Winter Garden just outside of Orlando, came as Tropical Storm Andrea made her way over to the Carolinas last week.
How it is was Made
This is a six-exposure HDR created with photomatix pro. The blended image was then processed through in photoshop with the original images for tonal adjustment and color correction.
Noise reduction was done with Topaz Denoise and minor touch up and cropping was done with Lightroom.
Canon 5DMKII Canon 17-40 F/4L at f/16 ISO 100.
May
22
2013
1955 Chevy Bel Air – created with Photomatix, Lightroom, Photoshop & Topaz Clarity
What Is It?
Topaz Clarity is a plugin that allows photographers to make color, contrast, and clarity definition adjustments without halos or artifacts.
Does it do it well?
Topaz is no stranger to controlling halos. Their Detail plugin is one of my favorite sharpening tools because it does not create halos at edge boundaries. But that’s Detail, what about Clarity?
In short, the technology does a great job. I have some reservations about some bugs in the user interace I hope Topaz will address in the future, but those are minor issues; the technology itself works, and it works well. Take a look at the before (left) and after (right) below:
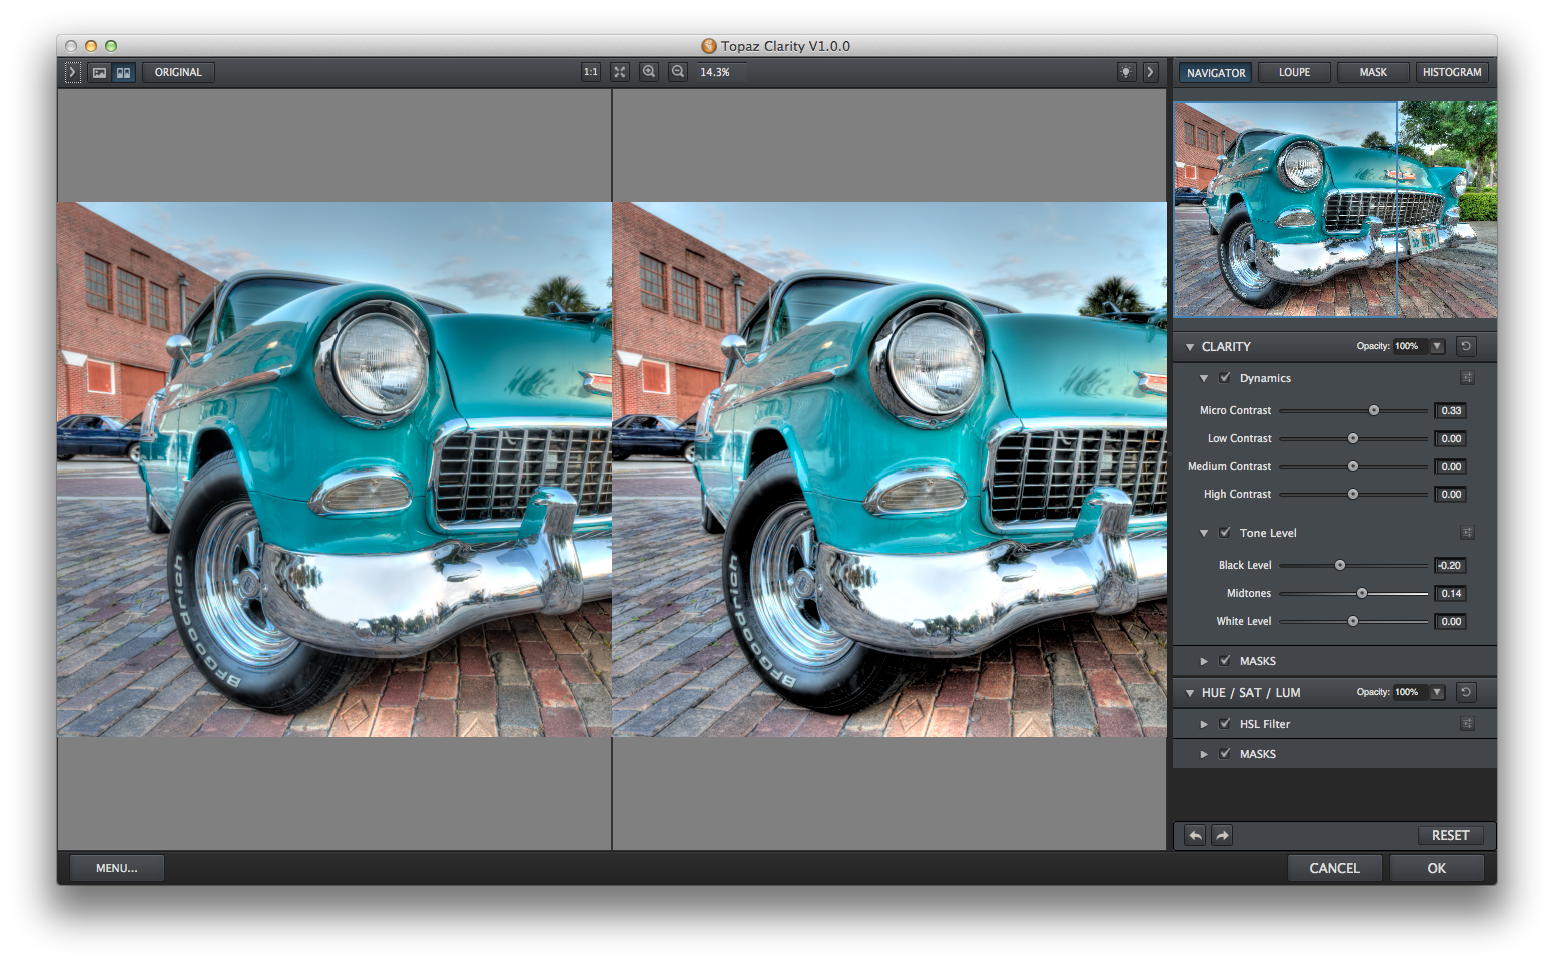
Topaz Clarity Before & After
Is it perfect? I do see a bit of haloing, but it is so slight that it’s easily addressed with the masking brush Topaz makes available. That’s a real nice feature allowing you to brush-in/brush-out the effect as desired.
For HDR
Tonemapped images always need a contrast boost. I like the fine tune control over Micro, Low, Medium and High Contrast. Clarity is like a contrast scalpel providing you with control when you want it.
Features
In addition to clarity and contrast, you also get Hue Saturation and Luminance controls, as well as, a good list of presets to get you started. The presets themselves are broken down into collections like Documentary, Landscape, Fashion, Wedding and so-on to give you a head start depending on the type of photography you do. You can also create your own as is expected.
Another nice feature with the masking brush is a preview showing you where the brush has been applied. Think layer masks in photoshop, but large enough for you to see where the brush was applied. I’d like to see something like that get incorporated into Lightroom & Photoshop.
Is it worth it?
Topaz will be selling Clarity for $49.99 but has it discounted to $29.99 until May 31st. That’s not a bad deal for the kind of fine tuned control it gives you. Skip a few cups of coffee and give it a whirl. If you can skip coffee for a while, the Topaz Bundle has a great set of tools like Adjust, Denoise, and Detail (to name a few). By the way, if you’re interested in Denoise, checkout my video tutorial here.
Ok, it’s new software, are there any bugs?
There are a few bugs with the UI. If you’ve used Lightroom, you’ll notice similarities between it and Clarity. The layout of the HSL sliders for example is definitely an homage to Lightroom, but some of the UI functionality is a bit buggy (at last in the Mac version at release). The brush, for example, doesn’t repsond to the a two-finger drag to resize and the “[” and “]” keys don’t always the resize brush when clicked. Also, Command-Z doesn’t seem to undo brush strokes.
These are minor issues I’m sure will be addressed in time, but they’re there. The core functionality does work well, and if you’re looking for fine grain clarity control Topaz Clarity is a good one.
Anything else?
You can try it for free for 30 days, give it a shot and let me know what you think in the comments.
May
07
2013(This article was contributed by Kevin Graham, owner of DSWfoto. Kevin is an Orlando based Wedding, Event, and Portrait Photographer.)

Yesterday, Adobe made an announcement at the Adobe MAX event – Adobe Photoshop Creative Cloud (CC) is replacing Adobe Photoshop Creative Suite (CS). They demoed a bunch of new fun features, most of which I’ll never use, and then slipped in a piece of information – Adobe Creative Cloud will be available in a subscription-only plan.
Like a bad circus magician, Adobe moved on to the next act, “Look at this shiny new hardware pen where you can”…. Woah. Wait a second, rewind. Did you just say that Photoshop can’t be purchased anymore?
The Internet erupted, as it loves to do when any cheese is moved. And, then the rumors and misinformation began to flow, which also the Internet is so great at.
So, let me state the facts first:
- Photoshop CS6 is the last version that you outright own.
- Adobe is using the word Cloud “creatively” in their branding:
- You don’t access Photoshop via a browser.
- You don’t need an Internet connection to edit your photos.
- Your images don’t belong to Adobe.
- Photoshop Creative Cloud is $19.99 a month. The more commonly recognized suite of all of the Adobe software is $49.99 a month. This suite includes all of the tools that you, as a Photographer, never really cared about.
- You can still buy Photoshop CS6 (B&H has it on sale for $590).
- Lightroom will still be available to purchase, although they do include it in the $50 suite.
- Photoshop CS6 will still be supported in the next version of Windows and MacOS.
Pricing (bunch of numbers)
There’s a lot of spin both ways on pricing. Adobe says it’s cheaper with their fuzzy math. End users are saying it’s extremely expensive with their equally fuzzy math.
So, what does it mean to me? These charts are done on some grounded facts:
- Photoshop upgrades have always been $199 and come out every 18-24 months. (For this chart, I’m assuming a more aggressive 18 month schedule)
- Photoshop costs $699 retail.
- Adobe Photoshop CC for new customers is $19.99 a month.
- Adobe Photoshop CC for existing customers is $9.99 a month for the first year (if you switch by July 31, 2013) and then it goes to $19.99
- Some bureaucrat decided years ago that 5 year plans were pertinent, so these charts are based on a 5 year(60 month) cycle.
- Prices are based on US figures. Adobe has even more confusing international prices that I’ll never attempt to figure out.
So, let’s let the charts speak for themselves.
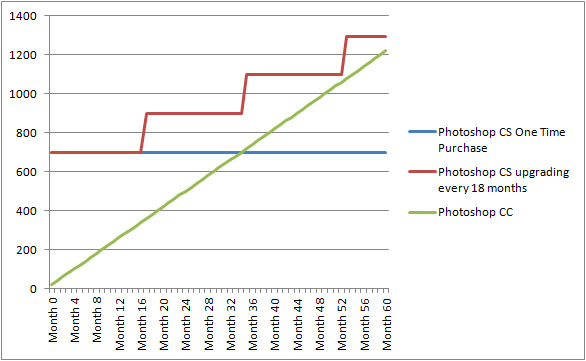
Chart 1 – Buying Adobe Photoshop Today.
This chart shows what the costs would be to someone who purchased Photoshop brand new today. It’s assuming the purchase and subscription models continued to live in parallel.
If you aren’t upgrading every 18 months, it’ll take 3 years before the price of the subscription would have bought you Photoshop.
If you are upgrading every 18 months, at the 5 year mark, Creative Cloud is still cheaper. So, maybe Adobe is correct?
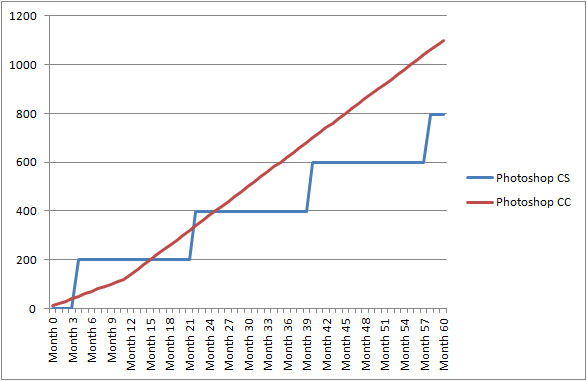
Chart 2 – For those (such as myself) that already own Photoshop
This chart tells a much different story. This pertains to all of those that have already invested in Photoshop. Later this year would have marked the 18 month mark for CS6. So, it’s assuming we would have been shelling out the $199 for the upgrade. But, long term Creative Cloud is going to be costing us more money from today forward.
What this chart doesn’t show is the person who already purchased Photoshop and has no plans on upgrading. Their ongoing cost will be $0.
Oh, these charts don’t show one “minor” other thing.. At month 61, you still own Photoshop CS. You don’t have to spend a dime to use it.
Removal of Consumer Choice
The fact is, Photoshop hasn’t had competitors for years. They could have doubled their prices and people would have screamed, but we would have still bought it. Adobe Photoshop is $699 today not because of the “ingenuity” of the product, but because of the lack of competition.
The only time we could tell Adobe that we weren’t awe-inspired was when they would release a new version of CS. We would look at the features and decide if it was worth upgrading, or save the money. It was a good relationship in that Adobe was pressured to innovate to appeal to us. CS4 offered nothing for Photographers, and many spoke out by not upgrading.
Switching to a subscription model takes that choice away from consumers. What if Photoshop lays stagnant for the next few years? People will still be forced to pay that money to get the already existing features.
I wouldn’t be surprised honestly if Photoshop does become stagnant. A recent episode of the The Grid listed features we want to see in Photoshop and the best that Scott Kelby and company could come up with is a “Do it again” option.
The options Adobe has been “Teasing us” with are more so centered on what they can do on a mobile solution than the bread and butter Photoshop. That is further proof that even Adobe is running out of innovative ideas.
Did I need CS7? CS8? CS9? Possibly not. Adobe may have known that, which makes today the perfect time to take that choice away from me.
The only thing I do know that I need future Photoshops for is their support with newer camera models. Every day, I read comments like, “Why doesn’t CS3 read my D800 raw files”. If I stick with CS6, I know I won’t be able to open RAW files from the 5dmk4 or the D900.
Face it. Photoshop is now just like your utility company. When was the last time you looked to your water company for some great ingenuity? But, you still continue to pay that bill each month.
Buy vs. Own
The core issue to me is stability. I bought my home instead of renting one. I bought my car instead of leasing one. I prefer to buy my software instead of renting it.
Nobody knows our future and what it may bring. If my bank account suddenly read $0 tomorrow, I at least own my home, my car and my copy of Photoshop.
Adobe’s Roadmap
I have a hard time understanding Adobe. It almost seems to me that they are scurrying. They’ve never been upfront about their roadmap and it makes it very hard to make a decision investing in them ($699 is an investment. So is paying $20 a month in perpetuity).
When Photoshop CS6 was announced, I had an option. I could have upgraded from CS5 to CS6 or I could have jumped on the cloud. I chose to upgrade to CS6 for many reasons. But, one of those reasons was knowing that I’ll be able to upgrade to CS7 someday. How little did I know. Perhaps if Adobe had been more forthcoming at that time, my decision would have been different.
Adobe Creative Cloud is Adobe’s roadmap/future (for now….). Could they change direction again in a couple years? Quite possibly. Would knowing their 5 year vision help me make better decisions? Absolutely.
Adobe Lightroom / Photoshop
The big elephant in the room here is Adobe Lightroom. It’s a tool I use 10x more than Photoshop, and the two go together like peas and carrots.
Since its’ inception, Adobe has not known what to do with Photographers. We use Photoshop and Lightroom. Adobe offered all sorts of bundles, but never a Photoshop/Lightroom bundle. Why not? It would have made sense. Heck, they even had a Photoshop/Premiere bundle.
Adobe still doesn’t know what to do with this. Tom Hogarty, product manager for Photoshop, was on the Grid just last Wednesday asking for help. I viewed it as Adobe’s way of saying, “We really don’t know what to do”. Now that I know a little more facts, Tom knew what was going to be announced and knew he didn’t have answers.
Could Adobe come up with some Photoshop CC bundle for Photographers? Perhaps. But, right now they aren’t offering that. In the meantime they are putting pressure on us to upgrade to CC by July 31st at a reduced rate. Again, how can I make these decisions when Adobe is holding back on options?
Adobe Lightroom Retail
It was announced that Lightroom will continue to exist as a retail purchase. Aside from the Creative Cloud suite, there is no other way to rent Lightroom.
That’s with good reason. See, unlike many of the other Adobe tools, Lightroom doesn’t have the market cornered. There are plenty of other Digital Asset Management and basic photo editing tools out there – Photo Mechanic, Capture One, On One Photo Suite, iPhoto, Aperture, etc.
Lightroom hasn’t matured yet. There are countless improvements that they need to still make to this tool in order to compete. This gives a compelling argument to continue the “Oooh! I gotta buy the latest version of Lightroom” mentality that we used to have with Photoshop.
Conclusion
It’s hard for me to make a conclusion since even the Adobe Product Manager and the NAPP president have come out saying that there isn’t a cloud option that makes sense for photographers.
I do know that Creative Cloud, as it exists today does not appeal to me. I don’t want to be paying $20/month for the less than exciting features announced.
The best thing about Lightroom is that it is the true bridge to Photoshop. My one definite need for having the latest Photoshop is support for new camera models. Thankfully, Lightroom can continue to be that tool.
So, I’ll continue to use Adobe Photoshop CS6 and upgrade to Lightroom 5, Lightroom 6, etc.
Of course, as soon as I make that decision, Adobe will change their direction again.


